
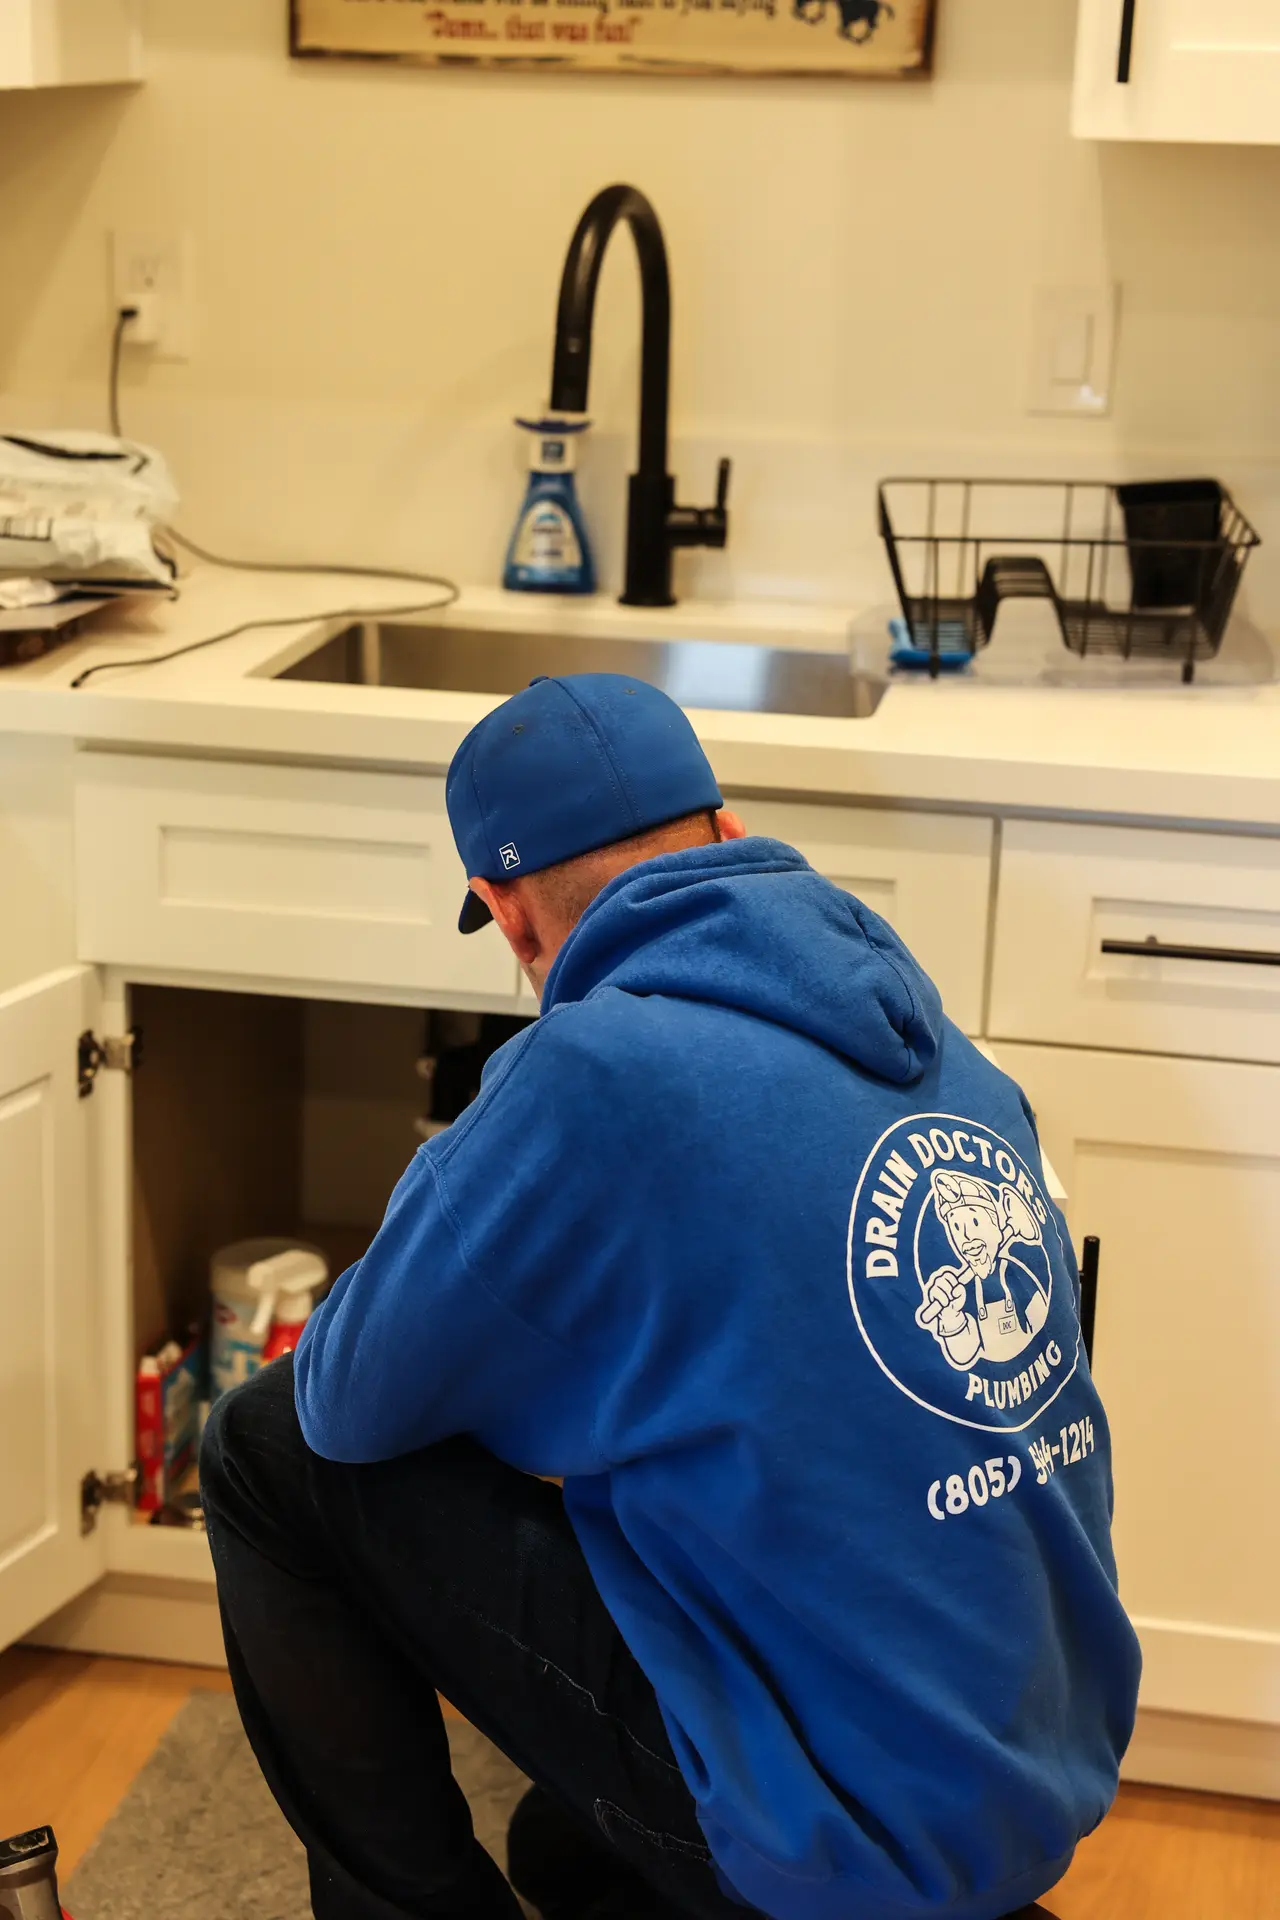
Finding water pooling under the sink is one of those moments that turns a normal evening into a small emergency. If the culprit is the garbage disposal leaking under the sink, the good news is that the source is almost always one of three specific spots, and figuring out which one usually points straight to the fix.
A disposal leak rarely comes out of nowhere. It's typically the end result of a seal drying out, a connection loosening over months of vibration, or corrosion finally working through a spot in the housing that's been weakening for years.
Where the water is actually coming from matters more than most homeowners realize, since a leak at the top of the unit and a leak at the bottom call for completely different fixes. One is a quick reseal, the other usually means a new disposal.
This guide walks through how to trace the leak to its source, what typically causes each type, and the steps worth taking in the first ten minutes before calling anyone. It also covers when a repair holds and when replacing the unit is the smarter call for homes across San Luis Obispo.
In this article, you will learn about:
- Where is that puddle actually coming from?
- What's really behind each kind of leak
- What to do in the next ten minutes
- Getting it fixed for good
Keep reading to find out whether that puddle under the cabinet means a five-minute fix or a new disposal.
Where is that puddle actually coming from?
Before anything gets tightened, resealed, or replaced, the leak needs a location. Wiping the unit dry and running water while watching closely usually reveals the source within a minute or two.
Leaking at the very top, around the sink flange
Water dripping from where the disposal meets the underside of the sink almost always traces back to the flange seal, the ring of plumber's putty or rubber gasket that seals the drain opening to the disposal body. Over years of heat cycles and use, that seal dries out, shrinks, and stops sealing tight.
This is usually the easiest leak to diagnose, since the water shows up right where the sink and the unit meet rather than lower down. It's also the most common type of disposal leak by a wide margin.
Leaking at the side, where the hoses connect
Two connection points sit on the side of most disposals: the dishwasher inlet, if the dishwasher drains through the disposal, and the discharge tube that carries waste water out to the trap. Either one can loosen over time from normal vibration during use.
A leak here often looks worse than it is, since water can travel along the pipe before dripping, making the source seem farther away than it actually is. Tracing the water back along the pipe with a dry paper towel usually narrows it down fast.
If the discharge tube has actually corroded through rather than just loosened, that shifts into water line repair territory rather than a simple reseal, since a corroded section needs replacing outright.
Leaking from the bottom of the unit itself
This is the leak that matters most. Water coming from the bottom of the disposal housing, rather than from a seam or connection, means the internal seal around the motor shaft has failed or the housing itself has corroded through.
A few signs point specifically to the housing rather than a seal or connection:
- Rust-colored water or staining on the cabinet floor directly under the unit
- Flaking or bubbled metal visible on the housing's exterior surface
- Water appearing within seconds of the disposal running, rather than pooling slowly over hours
There's no reseating or tightening that fixes this one. A leak from the housing means the unit's working life is effectively over.
Once the housing itself is compromised, water finds a new path through even after a dry-out period, since corrosion doesn't reverse itself the way a tightened fitting can hold steady again.
What's really behind each kind of leak
Knowing where the water is coming from is half the picture. What actually caused it determines whether the fix takes ten minutes or an afternoon.
A seal that's dried out or was never seated right
Plumber's putty and rubber gaskets both degrade with age, drying out and losing the flexibility that made them seal in the first place. Ten years is a reasonable point to expect the original flange seal to need attention, sooner in homes with heavy daily use.
Sometimes the seal was never the real problem in the first place. A disposal installed without enough plumber's putty, or with the flange over-tightened before the putty fully set, can leak from day one even on a brand new unit.
Connections that loosened or corroded over time
Slip-nut connections and hose clamps rely on consistent pressure to stay sealed, and the vibration from years of grinding gradually works them loose. A quarter turn with a wrench solves more of these than people expect.
Hard water speeds this process along in homes across the Central Coast, since mineral deposits build up on metal fittings and can actually corrode through thinner connection points over enough years. A pressure spike from a failing water pressure regulator can stress these same fittings even faster than normal wear alone.
A few habits make these connections fail faster than they should:
- Over-tightening a fitting during a prior repair, which stresses the threads and creates a slow leak later
- Using the wrong size clamp or fitting during a DIY dishwasher hookup
- Letting a small drip go unaddressed for months, since moisture accelerates corrosion at the exact spot it's already weakened
- Skipping periodic checks under the sink, so a slow leak goes unnoticed until it's already damaged the cabinet floor
Catching a loose connection before it becomes a steady drip is almost always the cheaper outcome. A five-minute check under the sink every few months is enough to catch most of these early.
A cracked or corroded housing
Disposal housings are built from cast iron, stainless steel, or galvanized steel depending on the model, and each has a different lifespan when it comes to corrosion resistance. Galvanized housings are the most prone to rusting through eventually, especially in homes with harder water.
A hard physical impact, like a heavy pot dropped into the sink at just the wrong angle, can also crack a housing that was otherwise in fine shape. That kind of damage isn't something age or maintenance could have prevented.
Homes with older plumbing systems sometimes see disposal housing failures happen alongside other signs of aging galvanized pipes elsewhere in the house, since the same decades of mineral exposure affect metal components throughout the plumbing system, not just the one under the kitchen sink.
What to do in the next ten minutes
A leaking disposal isn't usually a true emergency, but a few quick steps in the moment prevent a small puddle from becoming real damage to the cabinet or subfloor.
Cut the power before you touch anything
Unplug the disposal, or flip the breaker if it's hardwired, before reaching under the sink for any reason. Water and an electrical connection under a cabinet is not a combination worth taking chances with, even for a quick look.
Most disposals plug into an outlet inside the cabinet itself, which makes this step fast. If the unit is hardwired instead, the breaker panel is the faster route than trying to trace the wiring under the sink.
Stop the water and protect the cabinet
Shutting off the water supply isn't usually necessary for a disposal leak specifically, since the leak is typically coming from waste water rather than a pressurized supply line, but clearing everything out from under the sink and laying down towels protects the cabinet floor while the source gets identified.
Speed matters more than people assume here. The EPA WaterSense program notes that the average home's undetected leaks waste nearly 10,000 gallons of water a year, and a steady drip under a cabinet adds up fast even before it causes visible damage to the wood or flooring underneath.
A cabinet floor that stays wet for more than a day or two is at real risk of swelling, warping, or developing mold, so getting towels down and airflow going immediately is worth the extra few minutes even if the fix itself waits until morning.
Deciding if this is a DIY fix or a call for backup
A loose slip nut or hose clamp is usually fair game for a homeowner with a wrench and a few minutes, since tightening a connection carries little risk of making things worse. A dried-out flange seal is a bit more involved but still within reach for most people comfortable with basic tools.
A quick way to sort which category a leak falls into:
- Loose slip nut or discharge tube connection: safe to tighten yourself with a wrench
- Dried-out flange seal: doable with fresh plumber's putty and about half an hour
- A leak that returns within days of a DIY fix: time to bring in a professional
- Any water coming from the housing itself: always worth a professional opinion, not a DIY project
A leak from the housing itself, or any leak that keeps returning after a repair attempt, is the point where a professional leak detection visit makes more sense than guessing. Repeated leaks from the same spot usually mean the underlying cause hasn't actually been fixed.
Getting it fixed for good
Once the source and cause are clear, the path forward usually falls into one of two categories: a straightforward repair, or a full replacement.
When resealing or tightening solves it
A worn flange seal gets replaced with fresh plumber's putty or a new rubber gasket, and the job typically takes less than half an hour once the sink drain is disconnected. This is the most common disposal leak fix by far, and it's usually inexpensive.
The reseal process itself follows the same basic sequence regardless of which seal actually failed:
- 1Disconnect the sink drain and lower the disposal from the mounting assembly
- 2Clean off the old putty or gasket material completely before applying anything new
- 3Apply a fresh, even bead of plumber's putty or install a new rubber gasket
- 4Reattach the mounting assembly and run water immediately to confirm the leak is gone
Loose connections at the dishwasher inlet or discharge tube get the same quick treatment: disconnect, clean the threads, reseal or reclamp, and reconnect.
If corrosion has already started eating into the fitting itself, a full pipe repair on that section may be worth doing at the same time rather than patching a fitting that's already partway gone.
When it's time to replace the unit
A leak from the housing, a unit already past ten or twelve years of service, or a disposal that's leaked from the same connection more than once despite repairs are all signs that replacement makes more sense than another repair. At that point, paying for parts and labor on a unit near the end of its life rarely pencils out.
A same-day disposal repair visit usually settles this question quickly, since a technician can tell within minutes whether the housing itself has failed or whether the leak is something more fixable.
Keeping the next leak from happening
A quick check under the sink every few months, looking for dampness, rust, or a loosened connection, catches most leaks before they ever reach the cabinet floor. It takes less than a minute and costs nothing.
If the disposal was installed alongside an older sink, mismatched fittings from a mixed-era sink installation are worth a second look, since parts that weren't originally designed to work together tend to loosen faster than a matched set. Homes from Orcutt to Pismo Beach with decades-old kitchens see this fairly often.
A short prevention checklist worth keeping in mind after any repair:
- Feel under the sink after each use for a few weeks following any repair, to confirm the fix actually held
- Avoid over-tightening fittings during future DIY work, which stresses threads and invites new leaks
- Watch for rust streaks on the housing, an early sign of corrosion before an actual leak appears
- Replace flange seals proactively around the ten-year mark rather than waiting for a leak to show up
For homeowners in Templeton, Avila Beach, and elsewhere across San Luis Obispo County dealing with an older kitchen, a broader plumbing inspection can flag other fittings close to the same failure point before they turn into the next puddle under the cabinet.
A slow drip from a nearby faucet supply line sometimes gets mistaken for a disposal leak too, so ruling out a recent faucet repair job or a worn valve nearby is worth a quick look before assuming the disposal itself is at fault.
Homes built before the 1980s are especially worth a closer look, since aging supply and drain lines throughout the house often show up around the same time as a disposal leak, and getting a sense of typical repiping costs ahead of time makes it easier to plan for rather than react to a bigger problem later.
Conclusion
A garbage disposal leaking under the sink almost always traces back to one of three spots, and where the water shows up tells you most of what you need to know before anyone even picks up a wrench. A leak at the flange or a connection is usually a quick, inexpensive fix. A leak from the housing itself is the signal that it's time to replace rather than repair.
Acting quickly matters more than the size of the puddle suggests, since even a slow, steady drip under a cabinet adds up in wasted water and can damage the wood underneath faster than most people expect. A few minutes spent tracing the source and protecting the cabinet floor makes the eventual fix cheaper and simpler either way.
Drain Doctors Plumbing can trace a stubborn leak to its source and tell you honestly whether it's a quick reseal or time for a new disposal. Contact Drain Doctors Plumbing to get it sorted before the puddle turns into real damage.