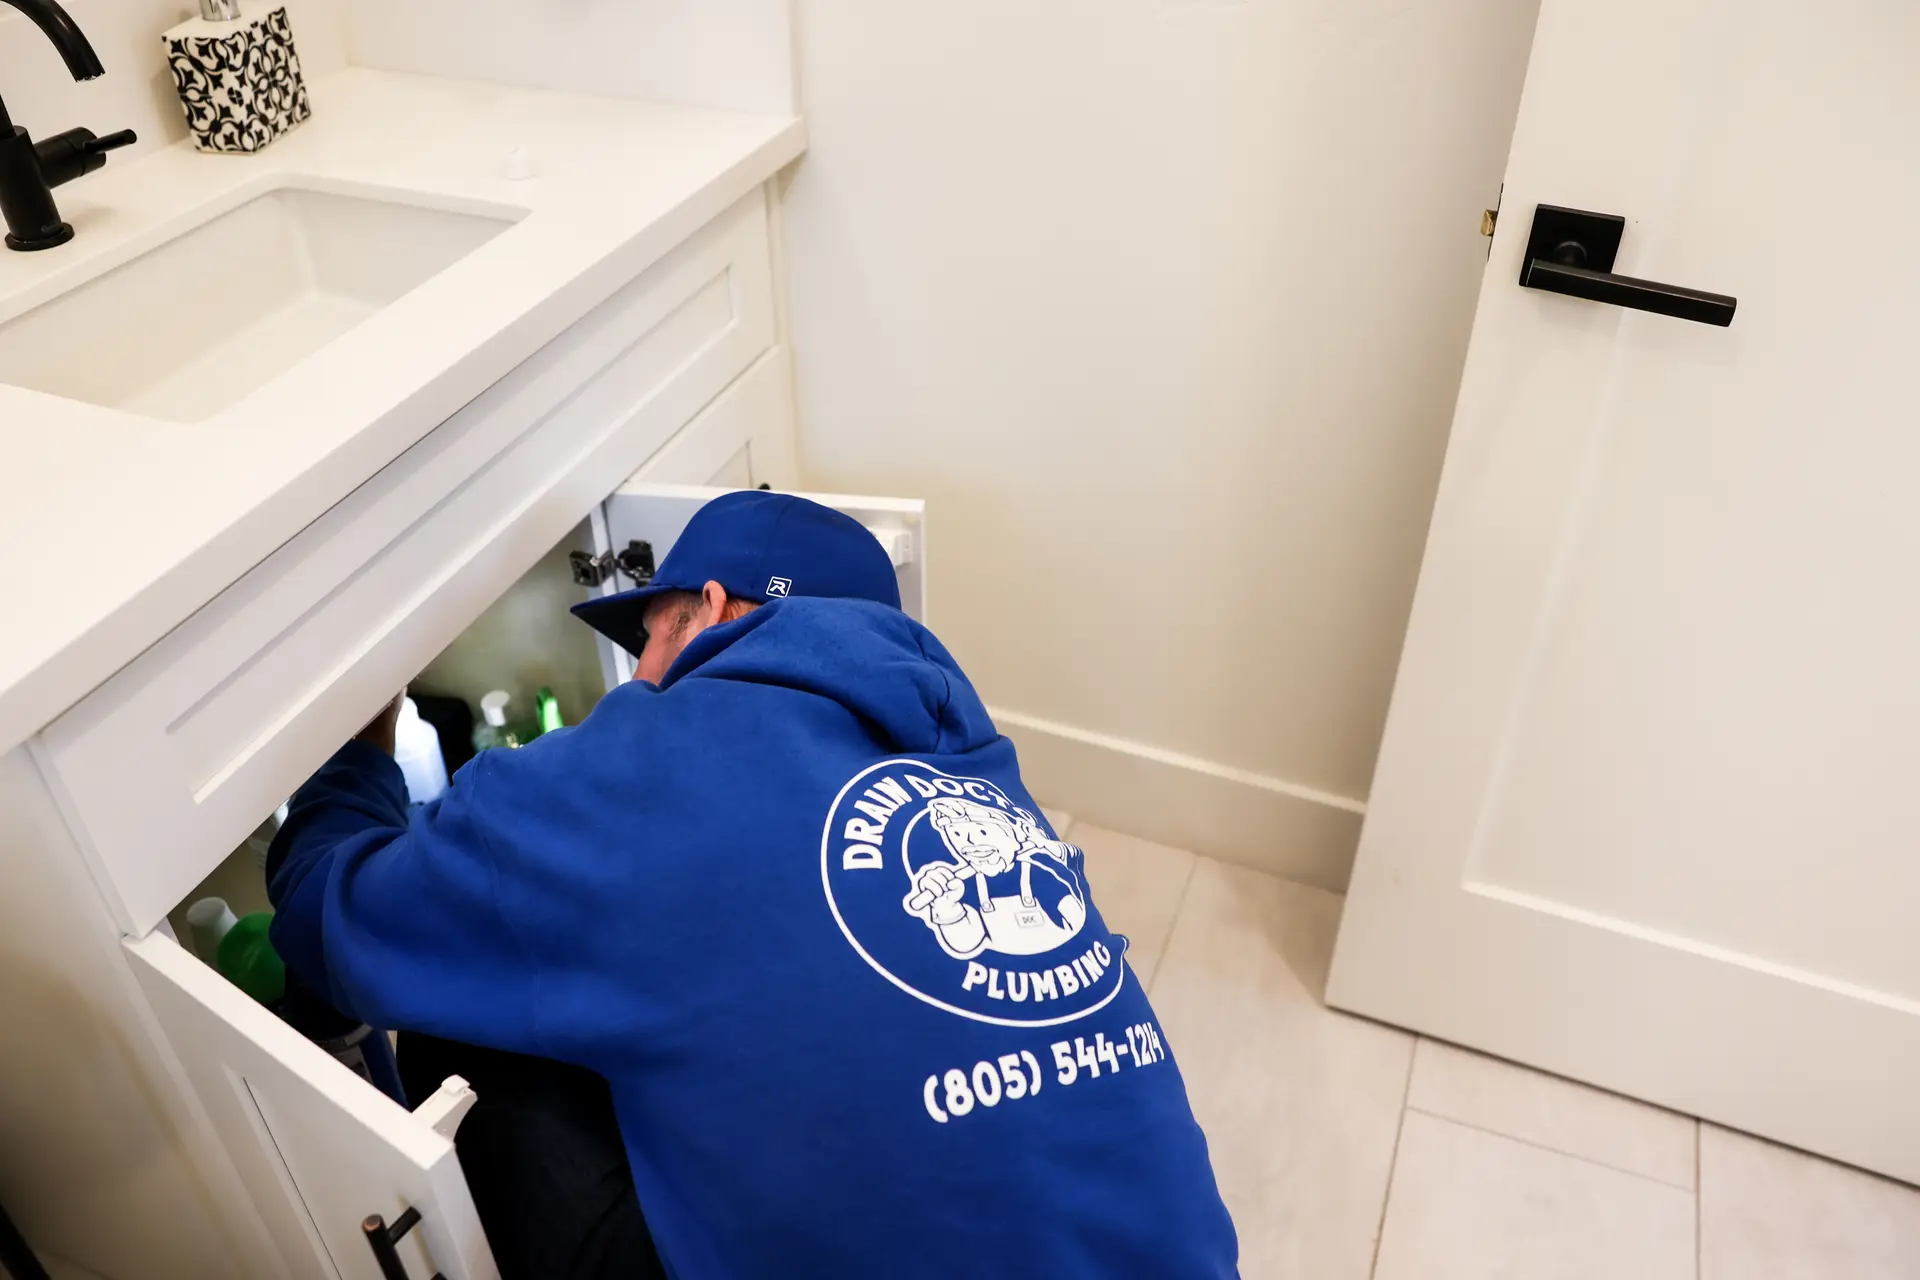
Bathroom plumbing mistakes from DIY remodels are some of the most common calls we get on the Central Coast, usually a few weeks after the homeowner thought the project was finished. The tile looks great, the new vanity is in, and then a slow drip under the sink or a toilet that rocks slightly turns into a much bigger problem.
Most of these mistakes don't come from a lack of effort. They come from the parts of a bathroom remodel that are genuinely hard to see, like how a fitting was tightened, whether a drain line was sloped correctly, or whether a water heater can actually keep up with a new shower.
San Luis Obispo County's older housing stock makes this worse, since a DIY project here often runs into pipe materials and layouts that online tutorials never account for. A quick fix on a newer home somewhere else does not always translate cleanly to a house built decades ago.
This is not about discouraging homeowners from being hands-on. It is about knowing which bathroom plumbing jobs are low-risk weekend projects and which ones are worth a second set of eyes before the wall closes, since fixing a mistake after the tile is set is a much bigger plumbing repair than catching it during the project.
In this article, you will learn about:
- Why DIY bathroom plumbing mistakes are so common and so costly
- Fixture and fitting mistakes DIYers make most often
- Drainage, venting, and water heater mistakes that show up later
- What to do if you already started the work yourself
Keep reading to see the mistakes we run into most often, so you can catch them in your own project before they turn into a bigger repair.
Why DIY bathroom plumbing mistakes are so common and so costly
Bathroom plumbing looks simpler than it is, mostly because the parts that matter most are hidden behind the tile and drywall. A fitting that looks snug can still be a slow leak waiting to happen, and there is no way to know for sure without pressure testing the line.
The gap between how a job looks finished and how it actually performs is where most DIY mistakes start.
Skipping the permit and inspection step
Most Central Coast cities and San Luis Obispo County require a permit for plumbing work that relocates fixtures, adds new supply or drain lines, or changes venting, and skipping that step removes the one check that would normally catch a mistake before the wall closes.
An inspector looking at exposed pipe can spot a bad slope, a missing vent, or an incompatible fitting in minutes, which is exactly the review a DIY project misses when it skips the permit process.
- A permitted job gets a second, trained set of eyes on the rough-in before anything gets covered up.
- Unpermitted plumbing work can complicate a home sale later, since it often surfaces during a buyer's inspection.
- Some permit requirements apply even to work that looks cosmetic, like swapping a water heater, so it is worth confirming before assuming a project is exempt.
Confirming the permit requirement upfront takes one phone call to the local building department and avoids a much more disruptive conversation later.
Underestimating what is hidden inside the wall
Older San Luis Obispo County homes frequently mix pipe materials behind the walls, since past repairs often patched in copper or PEX next to original galvanized steel rather than replacing the whole run. A DIY project that assumes uniform, modern pipe can run into fittings that were never designed to connect cleanly.
The U.S. Environmental Protection Agency notes that household leaks waste nearly 1 trillion gallons of water nationwide every year, equal to the water use of more than 11 million homes, and a surprising share of that starts with a connection that looked fine when it was installed.
A joint that seeps slowly behind a wall can run for months before it shows up as a stain, a soft spot in the floor, or a spike in the water bill, which is why so many DIY mistakes aren't caught until long after the remodel is finished.
Trusting a video tutorial over a licensed plumber
Online tutorials are usually filmed on a single, predictable setup, which means they rarely cover what happens when the pipe behind your wall is a different material, size, or age than the one in the video. That gap is where a confident DIY attempt turns into a mistake nobody notices until later.
- 1A tutorial typically assumes modern, uniform plumbing, which does not match many older Central Coast homes.
- 2A tutorial can't account for a house's specific water pressure, pipe age, or prior repairs.
- 3A tutorial walks through the steps of a job, not the judgment calls a plumber makes when something doesn't match the plan.
None of this means every bathroom project needs a professional from start to finish, but it does mean the riskier steps deserve a second opinion before the wall closes.
Fixture and fitting mistakes DIYers make most often
Once the layout is settled, the actual fixture installation is where small errors creep in. Most of these mistakes are not dramatic in the moment, which is exactly why they go unnoticed until they cause damage weeks or months later.
A few specific mistakes show up often enough that they are worth calling out directly.
Overtightening or undertightening supply line connections
Supply line connections need to be snug, not forced, and both directions cause problems. Overtightening can crack a fitting or strip threads, while undertightening leaves a connection that weeps slowly under pressure.
- A compression fitting tightened too far can crack the ferrule, creating a leak that only shows up once water pressure builds back up.
- A supply line left slightly loose may not leak immediately, but normal vibration and temperature changes over time can work it looser.
- Mixing old and new fitting types, like connecting a modern braided line to an older valve, sometimes requires an adapter most DIY kits don't include.
A quick pressure test after installation, before the wall closes, catches most of these problems while they are still a five-minute fix.
Using the wrong pipe material or fitting together
Pipe materials are not always interchangeable, and connecting the wrong combination without the right fitting or transition piece is one of the most common mistakes we see. Galvanized steel, copper, and PEX each expand, corrode, and seal differently, and a mismatched joint often looks fine for a while before it fails.
Homeowners planning a full repipe as part of a larger remodel are often better off deciding on one material for the whole run rather than patching new pipe into old sections, since mixed-material joints are where most future leaks start.
Installing a toilet or sink without the right wax ring or seal
A toilet that rocks slightly after installation is almost always a seal problem, either a wax ring that was not compressed evenly or a flange that sat slightly out of level. The same logic applies to a sink installed without the drain gasket fully seated, or a new shower pan that was not sealed evenly at the drain.
A rocking toilet or a sink that drips slowly at the drain connection rarely fails all at once. It tends to get slightly worse over months, which is part of why these mistakes often go unaddressed until a visible water stain forces the issue.
Drainage, venting, and water heater mistakes that show up later
Some of the most expensive DIY mistakes are the ones that have nothing to do with the fixtures themselves and everything to do with what happens underneath and behind them. Drain slope, venting, and water heater capacity are easy to overlook because none of them are visible once the project is finished.
These are also the mistakes most likely to require opening the wall again to fix.
Getting the drain slope wrong
Drain lines need a specific slope, typically a slight, consistent fall toward the main line, to let waste water and solids move through without settling. A DIY drain run that is too flat moves water too slowly and lets solids settle, while a slope that is too steep can let liquid outrun solids, leaving them behind.
- A slow-draining shower or sink after a remodel often points to a drain line with the wrong slope rather than a simple clog.
- Gurgling sounds from a nearby fixture can signal that the new drain line is affecting the venting of the whole system.
- A sewer or main drain backup unrelated to the new fixture sometimes traces back to a poorly sloped branch line feeding into it.
Checking slope with a level before the floor closes is a five-minute step that prevents a much bigger fix later.
Forgetting or shortcutting the vent
Every drain needs a vent to let air in behind the water as it flows, and skipping or undersizing that vent is one of the least visible DIY mistakes because the symptoms look unrelated to plumbing at first. Gurgling drains, slow-draining fixtures, and sewer gas smell are the most common signs.
- 1Confirm every new or relocated fixture ties into the existing vent system, not just the drain line.
- 2Watch for gurgling in a fixture that wasn't touched during the remodel, since it often means a shared vent was affected.
- 3Treat a sewer gas smell after a remodel as a venting issue to check first, not a cleaning problem.
A missed vent rarely causes an obvious leak, which is exactly why it tends to get discovered months later rather than during the project itself.
Connecting new fixtures to a water heater that cannot keep up
A bigger shower, a soaking tub, or a second shower head all put new demand on a water heater that was sized for the old fixtures. This is less a plumbing mistake than a planning gap, but it shows up the same way: lukewarm water by the second person through a brand-new shower.
Checking the water heater's recovery rate against the new fixtures' flow rate before finishing the remodel avoids an expensive surprise once everyone wants to use the new bathroom at once.
What to do if you already started the work yourself
If some of this sounds familiar because the work is already done, there is no need to tear everything out and start over. Most DIY bathroom plumbing mistakes are fixable without redoing the whole project, as long as they are caught before they cause water damage.
Knowing when to bring in a professional, and what that visit actually involves, makes the fix faster and less disruptive.
Signs it is time to call in a licensed plumber
A few signs are reliable enough that they are worth acting on right away rather than waiting to see if the problem gets worse on its own.
- A toilet, sink, or shower that rocks, drips, or drains slowly after a recent DIY remodel.
- A water bill that jumped noticeably after the project, even without an obvious leak anywhere visible.
- Gurgling sounds, a sewer gas smell, or a slow drain in a fixture that was not even part of the remodel.
Any one of these on its own is worth a call, and more than one together usually means the problem is bigger than it looks from the outside.
What a plumber checks first when taking over a DIY job
A plumber walking into a finished DIY remodel typically starts with a pressure test on the supply lines and a visual check of every exposed connection before opening anything up. That quick diagnostic narrows down whether the issue is a single bad fitting or something more systemic, like drain slope or venting.
- 1Pressure test the supply lines to isolate which fitting, if any, is actually leaking.
- 2Check the drain slope and vent connections for the new or relocated fixtures.
- 3Confirm the water heater's capacity matches the new fixtures before ruling out a planning gap.
- 4Run a water pressure check at the same time, since pressure problems often get blamed on the wrong fixture.
This diagnostic order usually finds the real problem faster than guessing based on where the symptom first showed up.
Getting the permit and inspection back on track
If the original DIY work was never permitted, a plumber can usually help bring it up to code and through inspection after the fact, rather than requiring the whole project to be torn out. This is a more common situation than most homeowners expect, and local building departments generally have a process for it.
Getting this sorted now, rather than waiting until a home sale forces the issue, is almost always the easier path.
Conclusion
Most bathroom plumbing mistakes after a DIY remodel are not about effort or skill. They happen because the parts that matter most, pipe material, drain slope, venting, and water heater capacity, are the hardest to see and the easiest to get slightly wrong.
Catching a mistake while the wall is still open, or soon after it closes, almost always costs less than waiting for a visible sign like a stain, a slow drain, or a jump in the water bill.
If your DIY bathroom remodel isn't behaving quite right, or you just want a second opinion before you call the project finished, Drain Doctors Plumbing can take a look, find what's actually going on, and get it fixed the right way.
Tell us what's going on and our licensed team will point you in the right direction. Call (805) 467-1214 or request service online.