
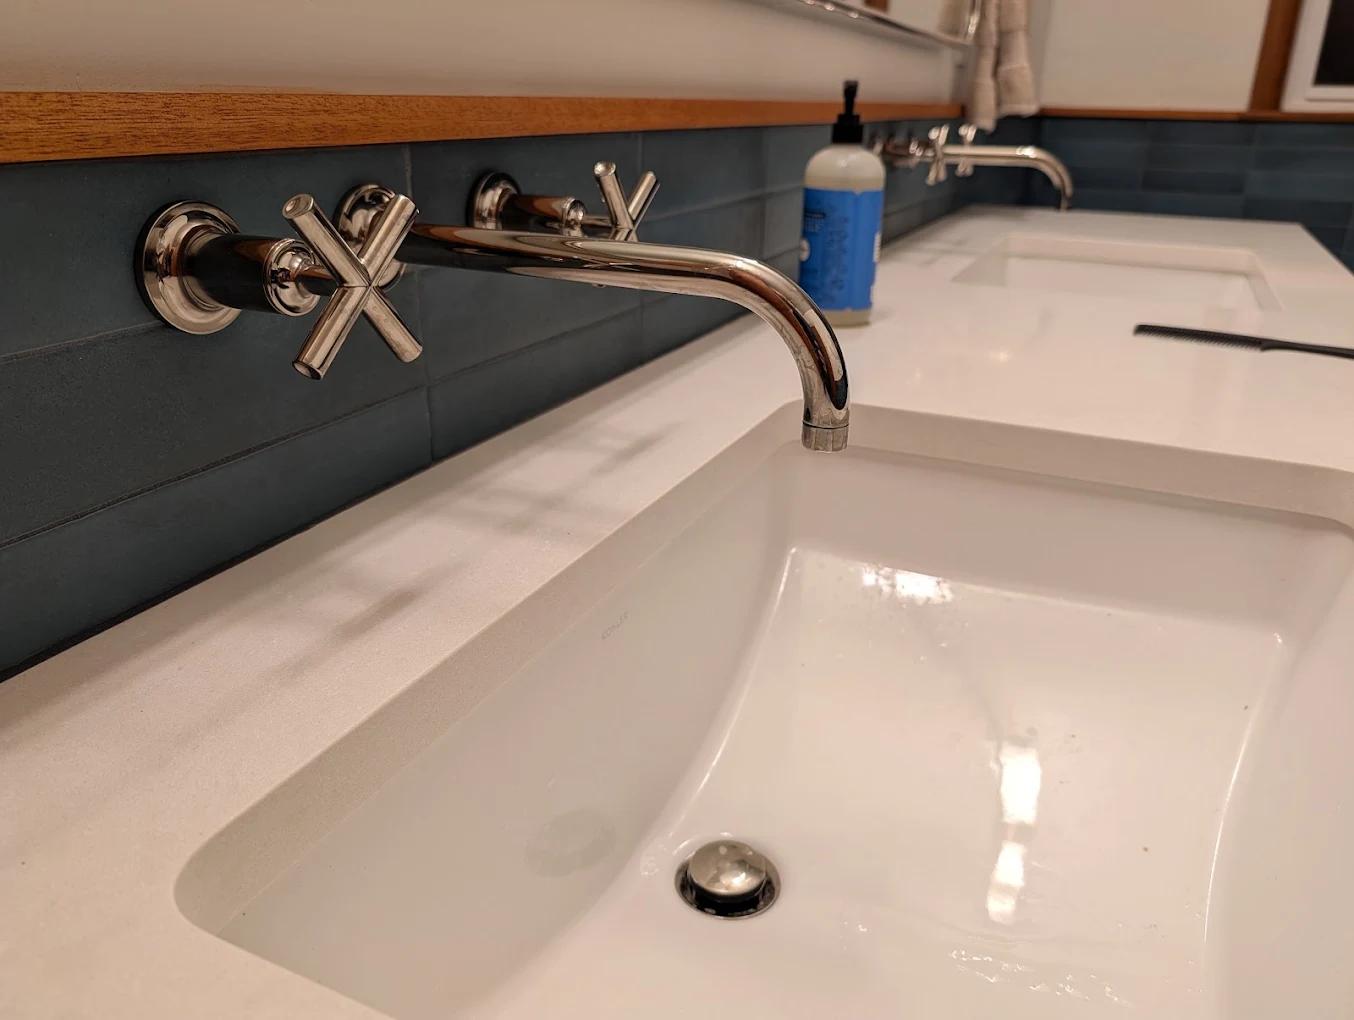
A sink style decision usually starts with looks, a farmhouse apron for a certain kitchen feel, a clean undermount edge, a straightforward drop-in that fits a smaller budget. What often gets skipped is that each style changes what's actually possible underneath the counter, not just what's visible above it.
Plumbers get called in after the fact more often than anyone would like, once a homeowner discovers that their beautiful new apron-front sink doesn't leave enough room for the disposal they already owned, or that an undermount sink's support clips have failed and the whole basin is sagging.
We see this across San Luis Obispo and the surrounding county regularly enough that it's worth walking through before you order a sink rather than after.
This guide walks through what changes under the counter with each style, so the decision gets made with the plumbing in mind from the start rather than as an afterthought.
A sink installation and repair visit before you order anything can confirm what your current cabinet and plumbing setup will actually support.
In this article, you will learn about:
- Why sink style changes the plumbing, not just the look
- Farmhouse and apron-front sinks
- Undermount sinks
- Drop-in sinks
Keep reading to avoid picking a sink your plumbing can't actually accommodate.
Why sink style changes the plumbing, not just the look
Every sink style sits on top of the same basic plumbing, a trap, a drain line, hot and cold supply lines, but how much room there is for that plumbing, and how accessible it stays afterward, depends heavily on which style you choose.
Homeowners rarely think about this until a repair is needed, at which point the sink style can make an otherwise routine job meaningfully harder or easier.
What actually differs under the counter
A drop-in sink typically leaves the most usable cabinet space, since the basin sits above the counter and the plumbing below has the full depth of the cabinet to work with. An undermount sink claims some of that space with its mounting hardware, and a farmhouse sink changes the cabinet structure itself, since the front panel has to be notched out to fit the apron.
Hard water deposits inside supply lines are a separate issue entirely, but they interact with sink style indirectly, since a water treatment system that's sized for one sink's fixtures may need adjusting if a remodel adds a second basin or a different faucet configuration.
These aren't cosmetic differences from a plumber's perspective. They change how much room there is to work, how the supply lines route, and in some cases whether a disposal even fits the way it would have under a different style.
A shower remodel involves a similar principle on a different scale: the fixture style chosen at the showroom determines how much room a plumber has to work with later, long after the purchase decision is forgotten.
Why this matters most during a remodel or replacement
If you're simply replacing a sink with the same style in the same cutout, most of this is moot, the existing plumbing already accommodates it. The considerations below matter most when you're switching styles entirely, which is common during a kitchen remodel, and they apply just as much to a secondary sink in a bar area or laundry room as to a primary kitchen basin.
The U.S. Census Bureau reports that homeowners who remodeled a kitchen in a recent survey period spent a median of $8,000 on the project, with plumbing fixtures alone accounting for a median of several hundred dollars of that figure.
A sink swap that changes styles is exactly the kind of upgrade that can quietly add plumbing costs to a remodel budget that wasn't planned for them, which is worth knowing before the countertop is already ordered.
The same budgeting surprise shows up with toilet swaps during a bathroom remodel, where a rough-in measurement that doesn't match the new fixture adds cost nobody priced in at the showroom.
Working with what's already there vs. starting fresh
Retrofitting an undermount sink into a cabinet originally built for a drop-in, or an apron-front sink into a standard base cabinet, usually requires at least some cabinet modification. That's a carpentry job as much as a plumbing one, and it's worth scoping both before committing to a style purely from a showroom photo.
A few things are worth confirming before you buy:
- Whether the existing cabinet opening matches the new sink's footprint
- Whether the countertop material supports the new mounting method
- Whether a disposal, if you have one, will still fit and align correctly
- Whether the supply line and trap locations need to move at all
Answering these up front avoids the common scenario where a beautiful new sink arrives and doesn't actually fit the space waiting for it.
A quick plumbing inspection before the order goes in answers most of these questions at once, rather than discovering the mismatch after delivery.
Farmhouse and apron-front sinks
Farmhouse sinks, sometimes called apron-front sinks, have a front panel that extends past the cabinet face instead of being hidden behind it. That look comes with a specific set of plumbing considerations that other styles don't share.
The three sections below cover the issues that come up most often with this style specifically.
The apron-front access problem
Because the front of a farmhouse sink extends outward, the cabinet below often has less usable depth than it looks like from outside. That can crowd the plumbing into a smaller space than a standard cabinet would allow, especially once a disposal is added into the mix.
Reaching the trap or supply lines for a repair can also take longer with an apron-front sink installed, since some cabinet configurations require pulling the sink itself before a technician can get full access underneath. A straightforward trap repair that would take twenty minutes on a drop-in sink sometimes takes considerably longer here for exactly this reason.
A few questions are worth asking before an apron-front sink goes into a cabinet that wasn't originally built for one:
- How much usable depth remains once the apron panel is accounted for
- Whether the existing trap and supply lines will still reach comfortably
- Whether a disposal, if planned, will clear the reduced cabinet floor space
- Whether the cabinet face needs structural modification to fit the apron at all
Getting clear answers before the cabinet work begins saves a second round of carpentry once the plumbing reveals a conflict nobody anticipated.
Cabinet and countertop support requirements
A farmhouse sink is heavy, especially in fireclay or cast iron, and the cabinet below needs real structural support, not just a standard base cabinet frame. Most farmhouse installations require a dedicated support platform or reinforced base, which is a carpentry consideration that has to happen before the plumbing goes in, not after.
Skipping this step risks the sink settling slightly over time, which can stress the supply line and trap connections even if nothing was wrong with the plumbing itself when it was installed. An underlying sewer line problem is rarely the cause of a leak that shows up after a farmhouse sink installation, but a shifted connection from inadequate support often is.
Homeowners in Avila Beach and other coastal communities sometimes add extra support brackets as a precaution, since the combination of an older cabinet and a heavy fireclay basin is a common pairing in homes built decades before farmhouse sinks came back into style.
Faucet and disposal compatibility
Apron-front sinks sometimes sit lower relative to the counter than a standard drop-in, which changes the ideal faucet height and reach. A faucet chosen for a different sink style can end up splashing awkwardly or failing to reach the back corners of a deep farmhouse basin.
Supply line pressure matters here too. A water pressure regulator set correctly for the home overall won't need adjusting just because the sink style changed, but it's worth confirming during installation rather than assuming the existing setup automatically carries over.
Disposal fit is the other recurring issue. The reduced cabinet depth discussed earlier sometimes means a garbage disposal that worked fine under a drop-in sink no longer clears the cabinet floor once an apron-front basin is installed, especially in a shallower cabinet.
A low-flow faucet pairing sometimes solves the reach problem on a deep farmhouse basin, since many are designed with a taller gooseneck specifically to clear a deeper bowl than a standard sink would have.
Undermount sinks
Undermount sinks attach to the underside of the countertop, giving a clean, seamless look at the counter edge. That clean look comes from hardware doing real structural work that isn't visible once the installation is finished.
The plumbing considerations here are different from farmhouse sinks, focused less on cabinet depth and more on how securely the sink itself stays attached.
Why undermount relies entirely on the countertop
Unlike a drop-in sink, which rests on the counter's own weight and a sealant bead, an undermount sink is entirely dependent on clips, brackets, or epoxy adhesive holding it to the underside of the countertop. If that attachment fails, the sink can shift or drop slightly, which puts direct stress on every connection below it.
This dependency also means the countertop material matters more here than with other styles. Stone counters generally hold undermount clips well, while some engineered or laminate surfaces need additional reinforcement to support the weight long term.
A few things are worth confirming before committing to an undermount sink on any countertop material:
- Whether the counter material is rated for undermount hardware at all
- How the fabricator plans to attach and reinforce the mounting clips
- Whether epoxy or mechanical brackets will be used, since each ages differently
- How the countertop edge will be finished where it meets the sink opening
A fabricator experienced with undermount installations will usually answer all four without hesitation, which is itself a useful way to vet who's doing the work.
If the project also involves a gas line relocation for a new range or cooktop, it's worth scheduling that alongside the sink work rather than as a separate visit, since both often require opening up the same section of cabinetry.
Clips, epoxy, and what can fail over time
The clips or brackets holding an undermount sink in place are usually epoxied directly to the underside of the countertop. Over years of thermal cycling from hot water use, that epoxy bond can weaken, especially if the original installation used too little adhesive or didn't fully cure before the sink saw regular use.
A few warning signs suggest the mounting hardware, not the plumbing, is the actual problem:
- A gap appearing between the sink rim and the countertop's underside
- The sink shifting slightly when pressure is applied to one side
- A new leak appearing at the trap with no obvious plumbing cause
- Caulk along the sink's edge cracking or separating from the counter
Catching this early matters, since a sink that's actually dropping due to failed mounting hardware can tear the plumbing connections it's resting on top of, turning a mounting repair into a pipe repair as well.
Homeowners in Paso Robles have brought us exactly this scenario more than once, usually a few years after a kitchen remodel once the original epoxy bond finally gives out.
Plumbing access and drain alignment
Undermount installation generally preserves more of the cabinet's usable interior space than a farmhouse sink does, since there's no apron eating into the front of the cabinet. That makes a disposal installation and trap access somewhat more straightforward than with an apron-front basin.
Drain alignment does need extra attention during installation, though, since the drain hole's position relative to the trap below has less room for adjustment than it would with a drop-in sink that can shift slightly within its cutout. Getting the cutout measured precisely the first time avoids a drain that fights the existing trap position.
A misaligned drain sometimes shows up later as a slow-draining sink rather than an obvious installation problem, since a slightly bent trap arm restricts flow even without any actual blockage in the line.
Drop-in (top-mount) sinks
Drop-in sinks, also called top-mount or self-rimming sinks, rest their rim directly on the countertop surface and are held in place with clips from below and a sealant bead around the edge. They're the most common style in older homes and remain the simplest to work with from a plumbing standpoint.
The sections below cover why that simplicity exists and the one recurring maintenance issue that comes with it.
Why drop-in is the simplest to plumb
Because a drop-in sink isn't dependent on the countertop for structural support the way an undermount sink is, and doesn't reduce cabinet depth the way a farmhouse sink does, the cabinet underneath generally has the most room to work with of the three styles. That translates directly into faster, less complicated repair visits.
Swapping a drop-in sink for another drop-in sink, even a different size, is usually the least involved of any style change, since the existing water line and trap positions rarely need to move at all.
That's good news for anyone in Morro Bay or similar older coastal neighborhoods where the original plumbing layout is often decades old and best left undisturbed if the new sink doesn't require it.
A sump pump installation or any other under-cabinet work is also simpler to schedule around a drop-in sink, since there's more open space to maneuver equipment and tools during the visit.
The sealant gasket and what goes wrong with it
The sealant bead between a drop-in sink's rim and the countertop is the one part of this style that needs periodic attention. Over time, that seal can crack, shrink, or pull away from the counter, letting water seep down into the cabinet below rather than staying on the counter surface where it belongs.
A few signs point to a failing seal rather than a plumbing leak underneath:
- 1Check the visible caulk line around the sink's edge for gaps or discoloration
- 2Run water across the counter near the sink and watch for seepage at the rim
- 3Dry the cabinet floor completely and check again after normal dishwashing use
- 4Compare any moisture found to the trap and supply line locations before assuming the seal is at fault
Resealing a drop-in sink is a straightforward maintenance task most homeowners can handle themselves with a basic caulking kit, though a cracked basin or a persistently failing seal despite resealing is worth having looked at professionally.
Water that's tracked past a failing seal often ends up pooling near a bathtub or shower valve in a shared bathroom wall, which can make a small sink seal problem look like a much bigger leak somewhere else entirely.
Choosing the right style for your own kitchen or bath
None of these three styles is objectively better from a plumbing standpoint, each comes with its own tradeoffs once you know what to look for. A drop-in sink offers the easiest plumbing access and the simplest repairs.
An undermount sink offers a cleaner look at the cost of depending entirely on secure mounting hardware. A farmhouse sink offers real visual character at the cost of reduced cabinet depth and a heavier support requirement.
For a bathroom remodel specifically, the same considerations apply at a smaller scale, since vanity cabinets have even less spare depth to begin with than most kitchen cabinets.
A sewer camera inspection is also worth considering if a remodel is already opening up walls or cabinets near an older section of drain line, since it's a convenient moment to rule out a bigger problem before everything gets closed back up.
Drain Doctors Plumbing can walk through these tradeoffs with you before you commit to a style, whether you're in Nipomo or anywhere else across San Luis Obispo County. The same holds for Arroyo Grande and the rest of the Central Coast footprint.
A hydro jetting visit is sometimes worth scheduling at the same time if the home's drains were already running slow before the remodel began, since clearing the line makes more sense while the cabinet is already opened up for the sink swap.
Conclusion
A sink style decision is ultimately a design choice, but it's one with real plumbing consequences that are easy to miss until a repair visit reveals them. Farmhouse sinks trade cabinet depth for character, undermount sinks trade simplicity for a clean look, and drop-in sinks trade visual flair for straightforward serviceability.
None of these tradeoffs should stop you from choosing the style you actually want for your kitchen or bathroom. They're simply worth knowing about before the sink is ordered and the cutout is cut, rather than after.
If you're planning a sink change and want to know what your current cabinet and plumbing can support, Drain Doctors Plumbing can take a look before you commit to a style.
Tell us what's going on and our licensed team will point you in the right direction. Call (805) 467-1214 or request service online.