
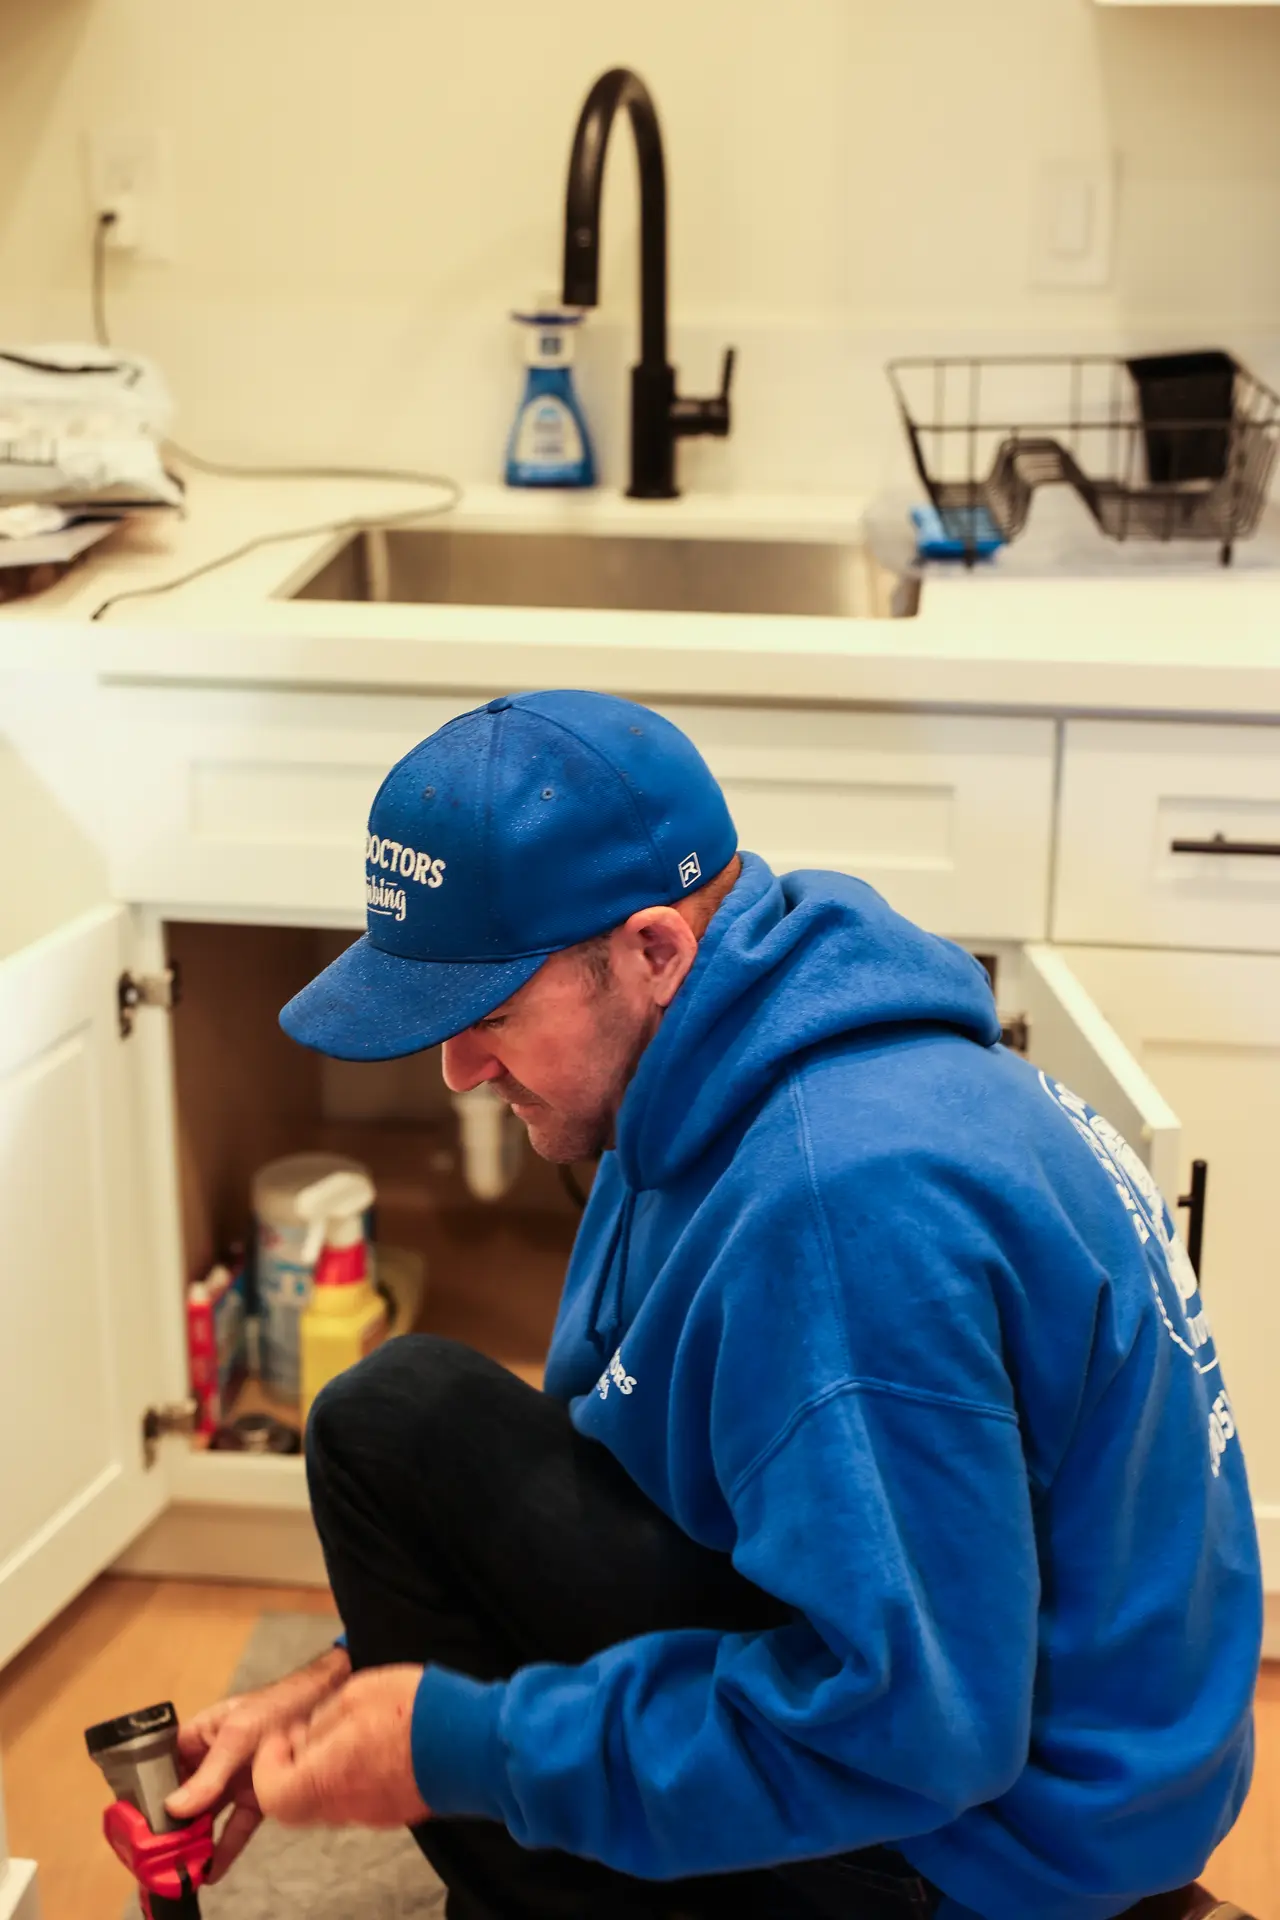
Kitchen faucet replacement sounds like a simple weekend project until you are halfway under the sink with a wrench that will not reach the nut you need. Understanding what the job actually involves before you start changes how it goes.
Most kitchen faucets fail slowly. A drip here, a wobble there, a finish that will not come clean no matter how hard you scrub. By the time homeowners call a plumber, the faucet has usually been annoying them for months.
This article breaks the project down the way a plumber actually approaches it, from the first sign your faucet is done to the moment the new one gets its first test run. Along the way, it covers the parts that trip people up most often.
In this article, you will learn about:
- Why your kitchen faucet might already be on its way out
- What actually happens on replacement day
- What trips people up mid-project
- DIY or call a plumber? Here's how to tell
Keep reading to find out whether that faucet you have been putting up with is actually ready for a real fix.
Why your kitchen faucet might already be on its way out
Kitchen faucets get more daily use than almost any other fixture in the house. Dishes, hand washing, filling pots, rinsing produce, it all runs through the same spout dozens of times a day.
That heavy use is exactly why kitchen faucets wear out faster than bathroom fixtures. The internal cartridge, the seals, and the finish all take a beating that a guest bathroom faucet never sees.
Before deciding whether to repair or replace, it helps to know what actually signals the end of a faucet's useful life.
The leaks and drips that aren't just annoying
A faucet that drips after you shut it off is not just wasting water, it is telling you the internal cartridge or valve seat has worn down. Early on, a repair kit can sometimes fix this. Once the drip comes back a second or third time, the cartridge itself is usually too worn to hold a seal.
Leaks around the base of the faucet point to a different problem, usually a failed O-ring or a cracked body casting. That kind of leak tends to get worse quickly rather than staying stable, since water is already finding its way past a seal that is supposed to be watertight.
A few signs worth tracking before they turn into bigger problems:
- Dripping that continues after the handle is fully off.
- Water pooling at the base of the faucet, not just at the spout.
- A handle that feels loose or wobbly when you turn it.
Catching these early usually means a cheaper fix. Waiting typically means replacing the whole fixture instead of a single part.
When a repair stops making sense
Every faucet repair has a point of diminishing returns. If a plumber has already replaced the cartridge once and the same symptom returns within a year, the body of the faucet itself is likely the problem, not the part inside it.
Cost is the other factor. Replacement cartridges and parts for older or discontinued faucet models sometimes cost nearly as much as a mid-range new faucet, especially once a service call is added on top.
A rough way to think about the tradeoff:
- 1First repair on a faucet under 10 years old: usually worth doing.
- 2Second repair on the same faucet: worth comparing against replacement cost.
- 3Any repair on a faucet older than 15 years: replacement is almost always the better value.
None of this means every older faucet needs to go immediately. It just means the math shifts the longer a faucet has been in service.
Lead, corrosion, and other reasons older faucets get swapped
Faucets manufactured before 2014 were allowed to contain far more lead in their internal brass components than faucets made today. The U.S. Environmental Protection Agency finalized a rule cutting the allowable lead content in plumbing fixtures from 8 percent down to 0.25 percent, a change that reshaped what counts as a compliant kitchen faucet.
That does not mean every pre-2014 faucet is dangerous, but it is one more reason homeowners in older Central Coast homes sometimes choose to replace an aging kitchen faucet rather than keep repairing it. Many current models also meet modern low-flow fixture standards without sacrificing day-to-day pressure.
A few additional reasons replacement wins out over repair:
- Discontinued parts that are no longer available from the manufacturer.
- Finish that has corroded or pitted beyond cleaning.
- A style mismatch after a sink or countertop renovation.
Any one of these on its own might not justify a swap. Together, they usually do.
What actually happens on replacement day
Once the decision is made, the actual installation is a fairly contained job. Most single-faucet replacements wrap up in well under two hours.
The real variable is what is happening underneath your sink, not the faucet itself. That is where most of the time and most of the surprises come from.
Here is the sequence a plumber actually follows.
Picking a faucet that fits your sink (not just your style)
Kitchen sinks have either one, three, or four pre-drilled holes depending on age and design, and the new faucet has to match that hole count or come with a deck plate to cover the gap. This is the single most common mismatch homeowners run into when buying a faucet online without measuring first.
Mounting type matters too. A single-handle faucet needs one hole, while a widespread two-handle setup needs three separate holes spaced a specific distance apart. Getting this wrong usually means a return trip to the store before installation can even start.
A few measurements worth confirming before buying anything:
- Number of existing holes in your sink or countertop.
- Distance between the holes if there is more than one.
- Countertop or sink deck thickness, since some faucets have a maximum mounting depth.
Getting the measurements right the first time avoids the most common delay in the entire project.
Shutoff, removal, and what's under your sink
Before anything comes off, the water supply to the faucet gets shut off at the valves under the sink, not just at the main. Most kitchen sinks have dedicated shutoff valves for hot and cold, though older homes sometimes only have a single shared shutoff or none at all.
Removing the old faucet usually means disconnecting the supply lines, unscrewing the mounting nuts from underneath, and working in a cramped space with limited visibility. This step is where corroded nuts and seized fittings cause the most frustration, since years of mineral buildup can essentially fuse old hardware in place.
A plumber typically checks a few things while under the sink anyway:
- Condition of the shutoff valves themselves.
- Any hidden leak signs around the supply line connections.
- General condition of the cabinet floor for water damage.
Catching a failing shutoff valve during this step saves a second visit later, since those valves rarely get attention until they actually leak.
Installation, sealing, and the first test run
The new faucet gets mounted through the existing holes, sealed with plumber's putty or the manufacturer's provided gasket, and secured from underneath. Supply lines connect next, matched carefully to hot and cold to avoid a mixed-up installation.
Once everything is tightened, the water supply comes back on gradually, checking for leaks at every connection point before running the faucet at full pressure. This slow approach catches a loose fitting before it becomes a cabinet full of water.
The final test run usually covers:
- 1Checking for leaks at the supply line connections first.
- 2Running hot and cold separately to confirm correct hookup.
- 3Testing full pressure and, if applicable, any sprayer or pull-down feature.
A faucet that passes all three checks is ready for daily use immediately, no curing time or waiting period required.
What trips people up mid-project
Most kitchen faucet replacements go according to plan. The ones that do not usually hit one of a handful of predictable snags.
Spotting these ahead of time means you can check for them before you are already elbow-deep under the sink.
The garbage disposal wiring surprise
If your sink has a garbage disposal, the faucet and disposal often share space in a crowded cabinet, and disconnecting one can accidentally disturb wiring or mounting hardware for the other. This is especially common when the disposal was installed at the same time as the original faucet decades ago.
A disposal that suddenly hums but won't spin after a faucet swap is sometimes coincidence, but sometimes a jostled connection during the faucet work. A disposal that starts leaking under the sink around the same time is worth checking separately rather than assuming the new faucet caused it.
If the disposal was already on its last legs before the faucet work started, it is worth weighing disposal repair against replacement at the same time, since both jobs share the same cramped workspace underneath the sink.
Old supply lines that don't match new fittings
Newer faucets almost universally use standard supply line connections, but homes with older plumbing sometimes have supply lines or shutoff valves using older thread patterns or compression fittings that do not match. This is more common in homes that still carry some of their original galvanized plumbing.
When this happens, the fix is usually a new supply line or an adapter fitting rather than anything wrong with the faucet itself. It is a five-minute fix for a plumber, but it is the kind of thing that stalls a DIY project for an entire afternoon while someone runs to the hardware store.
A few mismatches to check for ahead of time:
- Compression fittings on supply lines versus the newer standard connectors.
- Shutoff valves that do not fully close, requiring a valve replacement first.
- Thread patterns on older faucets that do not match newer standard parts.
If the supply lines under one sink look rough, it is often a sign the rest of the home's plumbing could use a closer look too. Homes in that position sometimes end up weighing a full repipe once a plumber is already under the cabinet. A repiping cost guide can help set expectations before that conversation goes any further.
Water pressure that suddenly feels different
Occasionally a new faucet feels like it has noticeably different pressure than the old one, even though nothing changed upstream. New aerators are often rated lower than the aerator that was in the old faucet, which can make the change feel bigger than it actually is.
If the difference feels extreme rather than modest, confirm the shutoff valves were opened fully during reinstallation, since a valve left even partially closed can feel like a pressure problem that has nothing to do with the faucet. A quick way to test your home's water pressure at the fixture settles the question either way. A dedicated water pressure and regulator check can rule out anything further upstream.
A slow-draining sink after a faucet swap is usually unrelated to the new fixture entirely. A kitchen sink backing up is almost always a drain line issue that was already building before the faucet work ever started.
DIY or call a plumber? Here's how to tell
Plenty of homeowners replace their own kitchen faucet successfully every year. The job is not inherently difficult, but a handful of situations make it worth bringing in a professional instead.
Knowing which category your project falls into before you start saves time either way.
When a kitchen faucet swap really is a weekend project
If your current setup has standard supply lines, working shutoff valves, and a sink with the right hole configuration for your new faucet, this is genuinely a manageable DIY job for someone comfortable with basic tools. The whole process rarely takes more than an afternoon.
A good candidate for a DIY swap usually has:
- Shutoff valves that turn easily and seal completely.
- A newer faucet model being replaced with a similarly configured one.
- No visible corrosion or water damage under the sink already.
If all three of those are true, the project is mostly patience and the right tools rather than specialized plumbing knowledge.
Signs you're in over your head
Cramped cabinets, seized nuts, and valves that will not fully shut off turn a simple swap into hours of frustration fast. If the shutoff valve will not stop the water flow completely, the project stops being optional and becomes a situation that needs a plumber regardless of your DIY comfort level.
A few signals it's time to stop and call someone:
- A shutoff valve that will not fully close or feels seized.
- Visible water damage, rust, or mold already present under the sink.
- A plumbing inspection flagging other issues nearby, like an aging water line.
Stopping at this point and calling a professional is cheaper than flooding a cabinet and dealing with the aftermath.
What a professional installation actually includes
A professional kitchen faucet installation typically includes diagnosing the condition of your shutoff valves and supply lines before the new faucet ever gets mounted, not just the swap itself. That upfront check is what prevents a callback a week later.
It also means any surprises, a seized valve, a mismatched fitting, a disposal connection that needs attention, get handled on the same visit instead of turning into a second project. A technician typically confirms sink compatibility and overall under-cabinet condition while they are already there.
Homes with persistent hard water sometimes pair a kitchen faucet swap with water treatment and filtration to slow down future corrosion around the new fixture.
Drain Doctors handles kitchen faucet replacements across San Luis Obispo County, with the same upfront diagnostic approach regardless of which part of the Central Coast you call from:
- San Luis Obispo
- Santa Maria
- Nipomo
- Arroyo Grande
- Orcutt
- Paso Robles
- Avila Beach
- Grover Beach
- Atascadero
- Morro Bay
- Pismo Beach
- Templeton
- Cayucos
- Edna
That consistency matters more than it sounds like it should. A faucet swap in a 1950s San Luis Obispo bungalow and one in a newer Nipomo build start from very different plumbing conditions, even though the finished job looks identical once the new faucet is in place.
Conclusion
A kitchen faucet replacement is one of those projects that is either genuinely simple or genuinely frustrating, with very little in between. The difference almost always comes down to what is happening under the sink, not the faucet sitting in the box.
Spotting the warning signs ahead of time, from a cartridge that keeps failing to a shutoff valve that will not fully close, puts you in a much better position before you ever pick up a wrench.
If you would rather skip the guesswork entirely, reach out to Drain Doctors Plumbing and get a faucet installed the first time without the mid-project surprises.
Tell us what's going on and our licensed team will point you in the right direction. Call (805) 467-1214 or request service online.