
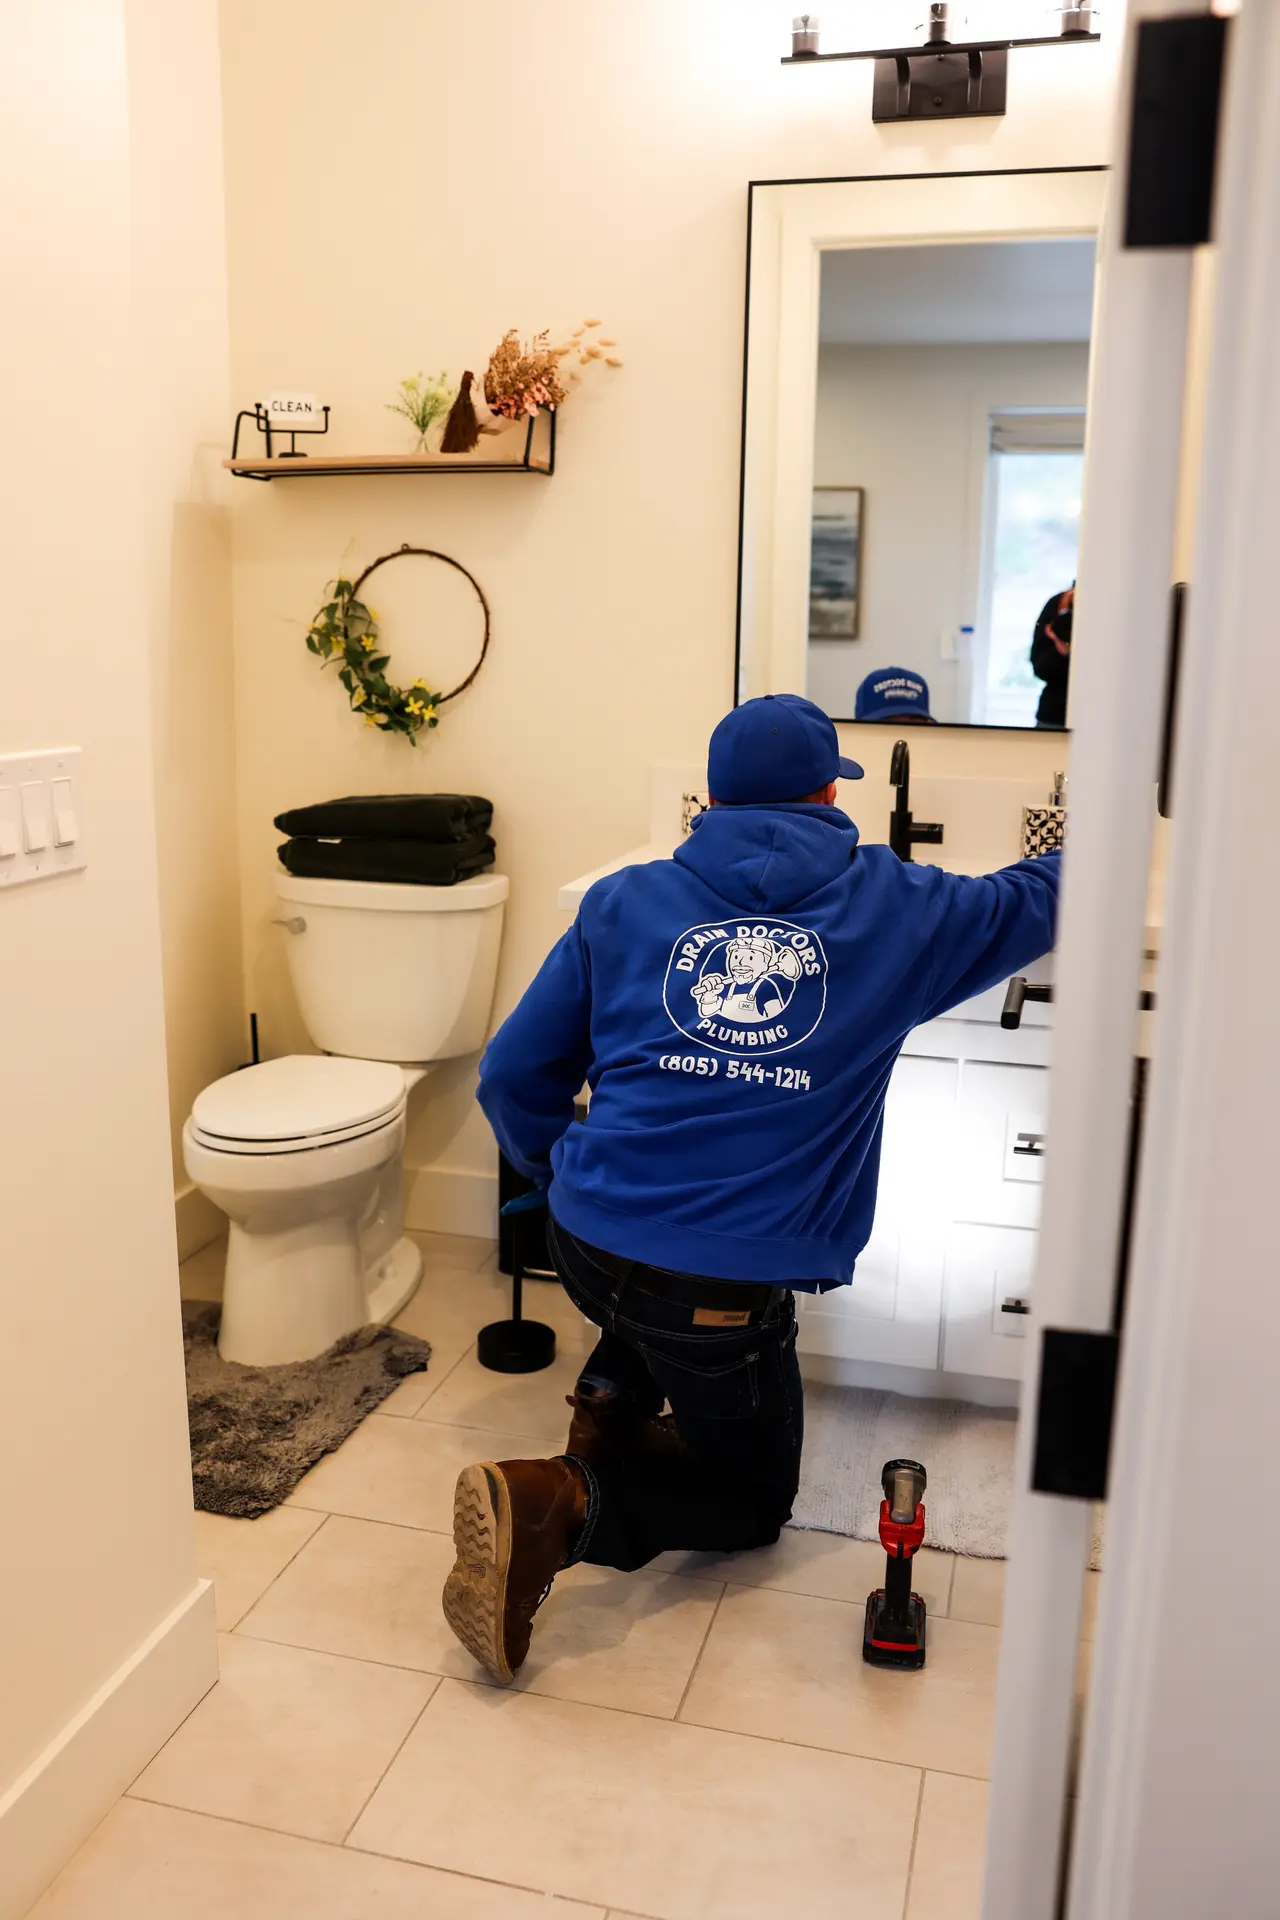
Planning plumbing for a bathroom addition is one of the first jobs to tackle, not a detail to leave until fixtures have been ordered. The location of the new room affects drain slope, vent routing, water-line length, hot-water wait time, floor framing, and whether the existing sewer or septic connection can take the added load.
That is why the least expensive-looking floor plan is not always the least expensive plumbing plan. A bathroom placed close to an existing wet wall may connect with a short, direct route, while a room across the house may require opened ceilings, structural coordination, a longer hot-water run, or a pump. Early bathroom plumbing planning helps you compare those consequences while the layout can still change.
Homes across San Luis Obispo County also vary widely in age, pipe material, foundation type, water pressure, and sewer arrangement. Before designing around a new shower, vanity, or toilet, establish what is already in the walls and under the floor. A broad plumbing inspection can turn assumptions into a usable starting point.
In this article, you will learn about:
- How to determine whether the existing plumbing can support another bathroom
- Which room locations usually allow simpler drain, vent, and water-line routes
- How fixture choices affect supply, drainage, pressure, and hot-water demand
- What to coordinate for permits, rough-in inspections, and final testing
A good plan connects all of these decisions. Moving one fixture can change the framing work, pipe sizes, vent path, and access needed elsewhere in the project.
Keep reading to build a bathroom-addition plumbing plan that works behind the walls as well as it does on the floor plan.
Start by checking what the existing plumbing can support
A bathroom addition is not an isolated group of fixtures. Its supply and waste piping become part of a whole-house system, so the first step is to understand the condition, size, and route of the lines that will serve it. The closest pipe is not automatically the correct connection point.
Older galvanized supply lines, restricted valves, corroded drains, or an undersized branch can make an otherwise simple addition unreliable. If the project exposes a larger pattern of aging pipe, targeted pipe repair or repiping may make more sense before new finishes close everything back in.
The initial assessment should answer several practical questions:
- Where do the existing cold-water, hot-water, drain, and vent lines run?
- What pipe materials and nominal sizes are present at the intended connection points?
- Does the existing bathroom group drain freely under normal use?
- What static and flowing water pressure reaches the proposed branch?
- How far is the new bathroom from the water heater and building drain?
- Is the property on a public sewer or an onsite septic system?
Do not treat an old pipe as adequate simply because it has not leaked yet. Weak flow, recurring clogs, rust-colored water, and mixed pipe materials can reveal limitations that become more noticeable when another toilet, faucet, and shower are added.
This is also the right moment to decide whether the new branch can be installed cleanly or whether broader work belongs in the same scope. Recognizing the signs that a house needs repiping before construction starts can prevent opening a newly finished room later.
Trace supply lines before choosing connection points
The plumber needs more than a general idea of where water lines are located. Pipe material, inside diameter, visible corrosion, valve condition, and the number of fixtures already served by the branch all affect whether it is a sound tie-in point. A new line connected downstream of an existing restriction will inherit that restriction.
If the service line or main distribution piping is already marginal, the addition may expose low flow throughout the home. In that case, a water-line assessment can separate a branch-layout issue from a larger supply problem. Material choices also matter when extending the system, and the tradeoffs between PEX and copper include routing flexibility, fittings, exposure conditions, and compatibility with the existing installation.
Inspect the drain and sewer connection, not just the room
A new toilet can discharge perfectly at the fixture and still reveal trouble farther downstream. Before tying into an older building drain or lateral, confirm its route, material, and condition. A sewer camera inspection can identify offsets, roots, scale, bellies, and damaged sections that are invisible from inside the house.
The findings matter because the remodel should not bury an uncertain connection behind tile and cabinetry. Knowing what the camera shows inside a sewer line helps the project team decide whether the connection is ready, needs cleaning, or requires repair before the addition proceeds.
Confirm sewer or septic capacity early
Properties connected to public sewer still have a privately owned lateral between the building and the public main. Within the City of San Luis Obispo, the sewer lateral inspection rules list a building-permit application for adding a bathroom as a trigger; the same page notes exemptions tied to a lateral installed or replaced within the last 20 years or an inspection completed within the last five years. Requirements outside city limits can differ, so verify the authority having jurisdiction for the property address.
If defects appear, the scope may need sewer-line repair before the new branch is connected. Existing slow fixtures, gurgling, or yard odors also deserve attention because they overlap with common warning signs of a failing sewer line.
Choose a room location that gives pipes a workable route
Bathroom placement controls much of the hidden cost. Putting the addition near an existing bathroom, kitchen plumbing wall, or accessible crawlspace can shorten pipe runs and reduce demolition. That proximity is useful only when the existing lines are correctly sized and the route does not conflict with beams, footings, ducts, or electrical equipment.
The floor plan should be developed with the plumbing route visible, not as a finished architectural layout handed off afterward. A wall-hung vanity, curbless shower, freestanding tub, or relocated toilet may each need a different combination of blocking, recesses, penetrations, and access. Early coordination makes shower installation part of the structural plan instead of an improvised field change.
Compare candidate locations using the same set of constraints:
- Distance to a correctly sized building drain and vent
- Available vertical space for drain slope and trap connections
- Access through a crawlspace, attic, framed wall, or open ceiling below
- Joist direction, beam locations, slab thickness, and foundation edges
- Distance to hot- and cold-water distribution lines
- A practical route for cleanouts, shutoff valves, and future service access
- Whether any fixture will sit below the elevation of the gravity sewer connection
The winning layout usually has the fewest difficult transitions, not necessarily the fewest feet of pipe. A short drain that crosses a major beam may be more disruptive than a slightly longer route running parallel to the framing.
Leave enough room to assemble and maintain the system as well. Connections packed tightly behind structural members or finished millwork can turn a small future repair into a demolition job.
Coordinate fixture positions with floor and wall framing
Toilets and shower drains have less routing flexibility than a small water line. Their larger drain connections must pass through framing without compromising joists, beams, or bearing walls. The toilet centerline, shower outlet, tub drain, and vent wall should therefore be located before the framing design is finalized.
Vanity plumbing needs the same attention when drawers, wall-mount hardware, or medicine cabinets occupy the wall cavity. A detailed sink installation plan establishes the drain height, supply positions, shutoff access, and support needed for the selected fixture. The rough-in should also suit the intended faucet configuration, especially for wall-mounted or widespread models.
Preserve gravity drainage and proper venting
Waste piping must maintain a code-compliant path to the building drain while traps remain vented. Too little slope allows solids to settle, while an improvised steep drop or poorly placed fitting can create its own flow problems. The route must also leave room for required cleanouts at accessible locations.
Venting protects trap seals and stabilizes drainage as fixtures discharge. A long horizontal run, an island-like layout, or a fixture placed far from a usable vent stack may change the design substantially. Recurring issues such as a slow shower drain should be corrected before the project adds another branch to the same drainage path.
Plan carefully when gravity is not available
A bathroom below the building sewer or on the wrong side of a difficult foundation may need engineered pumping rather than a conventional gravity connection. That changes the project from a simple branch extension to a system with a basin, pump, check valve, venting, electrical requirements, alarm considerations, and service access.
These layouts depend on correct equipment selection and a realistic maintenance path. When an ejector is necessary, the pump system should be sized for the actual fixtures and elevation, not selected only by the opening available in the floor.
Size the water, fixtures, and hot-water route as one system
Once the location is viable, fixture selection can move from style to performance. Every toilet, sink, shower, tub, bidet, and specialty fitting adds demand to the water distribution and drainage systems. Simultaneous use matters, particularly when the new bathroom will serve a busy bedroom wing or guest suite.
Pressure and flow are related but not interchangeable. A gauge can show acceptable static pressure while undersized or restricted piping still delivers weak flow when multiple fixtures operate. A focused water-pressure evaluation should compare pressure at rest with performance under realistic demand.
Finalize these specifications before rough-in begins:
- The exact toilet outlet location and manufacturer rough-in dimension
- Showerhead count, valve type, body sprays, and maximum combined flow
- Tub volume, filler flow rate, and expected fill time
- Faucet mounting style and the number of sink basins
- Hot-water pipe length, diameter, insulation, and circulation strategy
- Shutoff-valve positions and access panels for concealed components
- Accessibility or aging-in-place clearances that affect fixture placement
Model numbers are more reliable than generic labels on a plan. Two fixtures that look similar can require different valve depths, carrier locations, supply positions, or drain clearances.
Allow time for submittals and product availability as well. If a specified valve or tub changes after rough-in, the replacement may not fit the prepared wall or floor without rework.
Match fixture performance to the drainage layout
Efficient fixtures should still be selected for tested performance and compatibility with the planned drain. The EPA WaterSense toilet performance overview explains that the waste-extraction test requires a toilet to clear 350 grams of test media and four balls of toilet paper in four out of five flushes. That gives homeowners a more useful benchmark than judging a toilet by bowl shape or price alone.
The flange height, finished-floor thickness, outlet position, and nearby cleanout access all need to match the model. When comparing the full installed scope, a toilet installation cost can be affected by flange repair, shutoff replacement, floor correction, or drain changes, not only the fixture itself. The same principle applies to bathtub installation, where weight, overflow position, drain access, and filler demand belong in the rough-in plan.
Keep the hot-water path short and deliberate
A distant bathroom can add a frustrating wait even when the water heater has enough total capacity. Pipe length and diameter determine how much cooled water sits between the heater and the fixture. The EPA's hot-water distribution guidance uses no more than 0.5 gallons stored between the hot-water source and any fixture as a design target, and notes that fixtures on a demand-initiated recirculation loop are typically within 10 feet of that loop.
The solution may be a compact layout, carefully sized branch, demand-controlled recirculation system, or a different equipment strategy. Start by confirming the condition and available output of the current water heater. If replacement is already approaching, comparing gas, electric, and tankless options alongside the addition can avoid designing around equipment that will soon change.
Balance pressure, pipe material, and water quality
Measure static pressure, then observe what happens when existing fixtures run together. Homeowners can get an initial reading by following a careful home water-pressure test, but branch sizing and flow analysis should reflect the completed layout. If pressure is excessive or unstable, understanding the pressure regulator's role helps explain why simply installing larger pipe is not the answer.
Water quality can also shape material and maintenance choices. Mineral accumulation affects aerators, cartridges, shower outlets, and water-heating equipment over time. If hardness or taste concerns are already present, a water-treatment evaluation is easier to coordinate while the distribution layout is open. The known effects of hard water on water-heater life belong in the equipment discussion too.
Coordinate permits, rough-in, inspections, and final testing
Permit requirements depend on the property's jurisdiction, not simply its mailing address. A project in the City of San Luis Obispo may follow different submittal and utility procedures from work in an unincorporated county area or another incorporated city. Confirm the planning, building, water, sewer, and sanitation authorities before drawings are finalized.
For unincorporated properties, the County of San Luis Obispo's residential addition and alteration instructions state that the plan file includes applicable plumbing drawings and may require water and sewer will-serve letters. The county also specifies 24-by-36-inch plan sheets, 8.5-by-11-inch supporting documents, and a blank 2-by-3-inch approval-stamp area on every plan page.
A coordinated permit set should identify at least the following:
- Existing and proposed fixture locations
- Pipe sizes, materials, connection points, and routing
- Drain, waste, vent, cleanout, and trap arrangement
- Water-heater or recirculation changes
- Structural penetrations and required access panels
- Sewer, septic, water-service, or meter implications
- The inspection stages required before walls and floors are closed
Submitting complete information gives reviewers a coherent design to evaluate. It also reduces the risk that plumbing, structural, and architectural sheets show conflicting fixture locations.
Keep approved plans available during construction and document accepted changes. A field adjustment that looks minor can affect vent distance, drain slope, framing, waterproofing, or inspection access elsewhere.
Verify local fixture and utility requirements
Fixture standards should be checked against the rules that apply to the project address. Within the City of San Luis Obispo, the plumbing retrofit standards list toilets at 1.28 gallons per flush or less, showerheads at 1.8 gallons per minute or less, and bathroom faucets at 1.2 gallons per minute or less for the city's conservation program. Those figures are useful selection checkpoints, but the permit reviewer should confirm the complete current requirements for the addition.
Choosing compliant low-flow fixtures early prevents late substitutions that change rough-in dimensions or valve requirements. Utility review may also reveal meter, sewer-lateral, septic, or capacity work that needs its own approval before plumbing construction proceeds.
Schedule inspections before concealing the rough-in
Rough plumbing needs to remain visible for the required inspection and testing. Drain and vent piping, water lines, supports, protective nail plates, penetrations, and test setups should be complete enough to evaluate, while walls, floors, and ceilings remain open.
This is the moment to correct alignment, slope, support, or connection problems without damaging finished surfaces. If debris or preexisting buildup is affecting the branch that will receive the addition, drain cleaning belongs before commissioning, not after the new bathroom begins backing up.
Test the finished bathroom under realistic demand
Final testing should go beyond turning on one faucet at a time. Run the shower while a sink flows, flush the toilet, fill and drain the tub if one is installed, and check hot-water delivery at the farthest outlet. Watch exposed connections, shutoffs, traps, and access panels for leakage while checking drain speed, pressure stability, and temperature control.
Keep fixture model numbers, valve instructions, photographs of concealed piping, inspection records, and shutoff locations with the home's documents. Those records make future repairs more precise and help the next owner understand what was installed behind the finished surfaces.
Conclusion
A successful bathroom addition starts with the existing plumbing, not the fixture showroom. Confirm the condition and capacity of the supply, drainage, venting, sewer or septic connection, and water-heating system before committing to a room location.
From there, coordinate fixture specifications, pipe routes, framing, permits, access, and inspections as one design. That preparation protects the finished space from slow drains, weak flow, long hot-water waits, and expensive changes after walls are closed.
Drain Doctors Plumbing can assess the existing system and help build a practical plumbing scope for your San Luis Obispo County project. Contact Drain Doctors Plumbing to discuss your bathroom addition.
Tell us what's going on and our licensed team will point you in the right direction. Call (805) 467-1214 or request service online.