
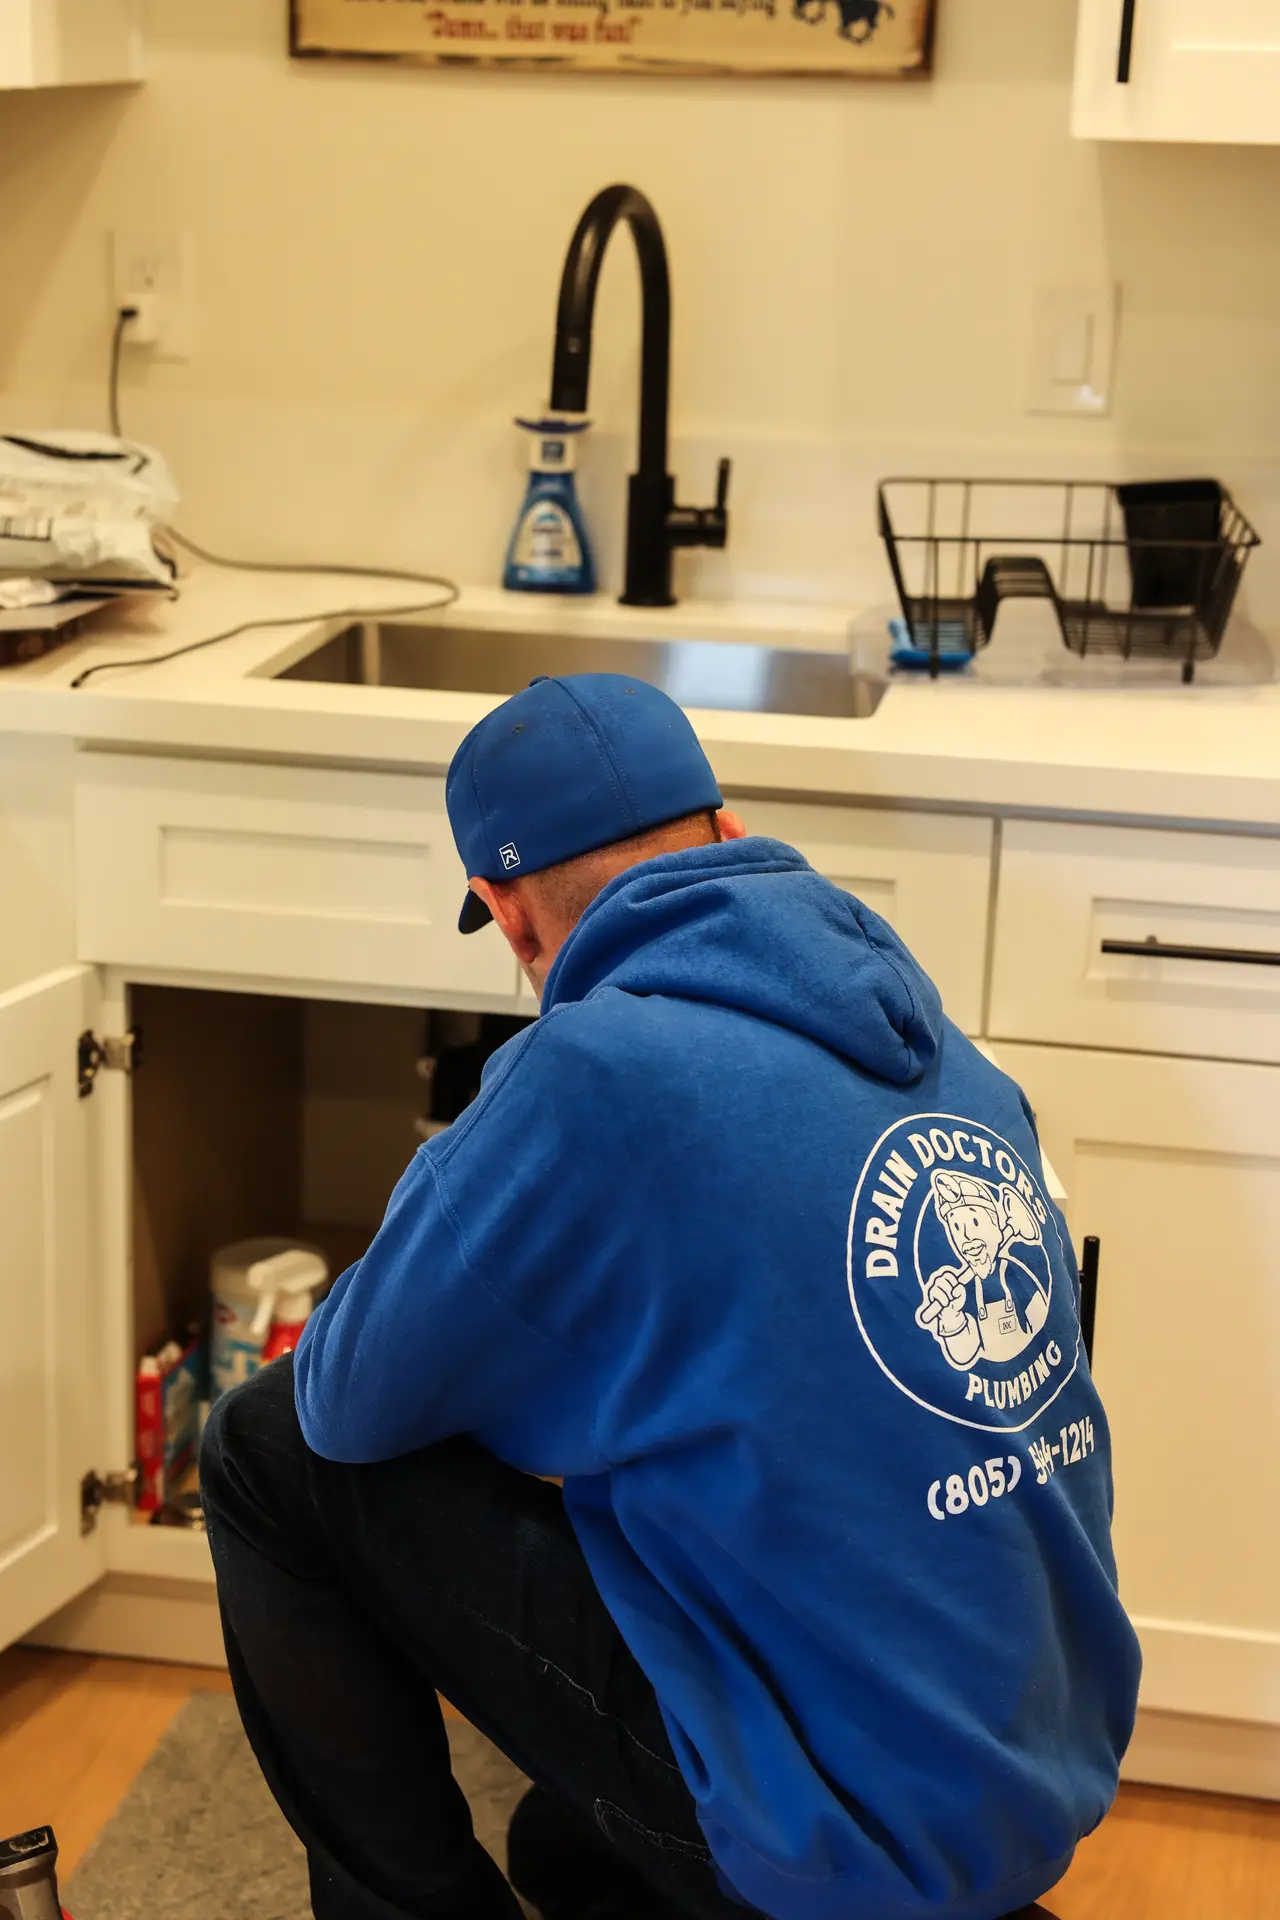
A useful sink installation guide for a kitchen remodel starts before the countertop is ordered. The sink affects the cabinet size, counter cutout, faucet placement, drain route, garbage disposal clearance, dishwasher connection, and the storage you will have left underneath. Choosing it late can force compromises across the entire sink wall or island.
The best sink for one San Luis Obispo County kitchen may be awkward in another. A deep farmhouse bowl can be excellent for large cookware but may conflict with existing drain height. An undermount sink creates a clean counter edge but depends on the countertop material, fabrication, support, and sealing details.
Treat the sink as a working plumbing station rather than a standalone fixture. Early coordination with sink installation and repair in mind helps the cabinet maker, countertop fabricator, plumber, electrician, and appliance installer work from the same dimensions.
In this article, you will learn about:
- Planning the sink around the cabinet and countertop
- Designing the plumbing below the sink before walls close
- Choosing faucets, disposals, and water accessories together
- Sequencing installation and testing before the remodel ends
Keep reading to make the sink functional on opening day, not an expensive puzzle at the end of the project.
Planning the sink around the cabinet and countertop
Sink selection begins with measurements, not color or finish. Overall dimensions matter, but so do bowl depth, rim profile, mounting hardware, faucet deck, reveal preference, cabinet construction, and the space required to make secure connections below.
The sink specification sheet should reach the cabinet maker and countertop fabricator before either component is finalized. Product listings are useful for shopping, but the manufacturer's current template and installation requirements should control the cutout and support plan.
Cabinet width and bowl depth set the real limits
A sink advertised by its nominal width may need a wider base cabinet because of the rim, clips, apron, mounting rails, or side clearance. Interior cabinet width, not the label on the cabinet door, determines whether the bowl and hardware can be installed.
Bowl depth affects more than capacity. A deeper sink lowers the strainer outlet, which reduces the vertical space available for the trap, disposal, dishwasher hose, and branch drain. If the drain in the wall is already high, the pieces may not fit with the required fall.
Collect the dimensions that control the full assembly before ordering:
- Sink length, front-to-back width, and bowl depth
- Minimum base-cabinet width required by the manufacturer
- Rim, flange, clip, rail, or cradle dimensions
- Countertop thickness and planned sink reveal
- Drain outlet location within the bowl
- Disposal height if one will be installed
The cabinet also needs enough structure to carry the filled sink. That is especially important with heavy fireclay, cast iron, stone, and apron-front models, where the countertop edge alone is not the support system.
When a remodel changes more than the fixture, a general plumbing inspection can identify valves, drains, connections, or supply piping that need attention at the rough-in stage. The plumbing position, cabinet design, and finish dimensions can then be checked as one assembly instead of corrected after fabrication.
Drop-in, undermount, and farmhouse sinks need different support
A drop-in sink rests on its rim, making the cutout more forgiving and leaving the edge visible. It can work with a wide range of countertop materials, but the rim still needs an even seal and the clips must remain accessible below.
An undermount sink attaches beneath the counter. The exposed cutout becomes a finished edge, so fabrication accuracy, reveal, attachment method, and waterproof sealing all matter. Laminates and other layered materials may require special details because the cut edge cannot be treated like solid stone or quartz.
An apron-front or farmhouse sink often requires a modified cabinet face and an independent support platform. The apron projection, cabinet-door clearance, and finished counter height must be established before the cabinet is built or altered.
Do not assume one mounting style can be swapped for another after the countertop is cut. Even two sinks with similar outside dimensions may use different corner radii, reveal geometry, drain placement, and support hardware.
Daily use should decide the sink's location and height
Think through how the sink relates to the dishwasher, range, refrigerator, trash pullout, dish storage, and main preparation surface. A beautiful sink can still interrupt the workflow if an open dishwasher blocks the standing area or the faucet collides with a window, shelf, or backsplash.
Future accessibility can be included during a remodel even when a private kitchen is not required to follow commercial accessibility standards. As a planning reference, the 2010 ADA Standards set a maximum sink or counter height of 34 inches in covered accessible applications, require at least 30 inches of knee-clearance width, and allow adjustable residential kitchen sinks from 29 to 36 inches when the rough-in supports the height range.
Those figures are not a universal prescription for every house. They show why counter height, bowl depth, knee space, reach, faucet controls, and exposed piping should be considered together when someone in the household uses a wheelchair, has limited reach, or wants the kitchen to adapt over time.
Single-handle or touchless controls, a shallow enough bowl, insulated exposed lines, and removable base cabinetry can improve usability when planned early. These choices affect the rough-in and cabinet design, so they belong in the initial scope rather than a final hardware discussion.
Designing the plumbing below the sink before walls close
The area beneath a kitchen sink has to accommodate water supplies, shutoff valves, a drain and trap, dishwasher lines, a disposal, electrical components, filtration equipment, and sometimes an instant-hot or soap system. A cabinet can look generous on paper and become crowded quickly.
Map each component at full installed size. Include fittings, service clearance, filter-change space, cord and receptacle position, hose loops, and the path needed to remove the trap or disposal later.
Drain height and location can make or break the layout
The trap must connect the sink or disposal outlet to the drain in the wall while preserving a workable gravity path. A deeper bowl, lower disposal outlet, or thick cabinet floor can consume the available height and leave the wall connection too high.
Moving the sink across the room is more involved than extending two water lines. The drain needs proper sizing, slope, venting, cleanout access, and a route through framing. An island sink adds another layer because the venting method and drain path must suit the layout and local code.
Confirm these points before cabinets conceal the rough-in:
- 1Mark the finished counter height and exact sink outlet position
- 2Add the selected strainer or disposal dimensions
- 3Plot the trap and branch-drain route at installed height
- 4Confirm how the fixture will be vented
- 5Preserve access for cleaning and future replacement
A kitchen sink that keeps backing up may be suffering from buildup, venting trouble, poor drainage geometry, or a restriction farther down the branch. Remodel planning is the chance to correct an existing problem rather than reconnect a new sink to the same weak layout.
If the old branch line is heavily coated or drains poorly, drain cleaning before final connection can establish whether the line is serviceable. That avoids discovering a concealed drainage issue after the counters and appliances are in place.
Supply valves should remain visible and serviceable
Every sink needs dependable hot and cold shutoff valves that can be reached without unloading or dismantling the cabinet. Old valves that are frozen, corroded, or leaking should be addressed while the cabinet is open and the water can be managed without risking finished surfaces.
Faucet supply lines must match the connections and reach without stretching, rubbing sharp edges, or forming tight kinks. If a refrigerator, dishwasher, pot filler, filter, or instant-hot dispenser shares the supply, each branch needs a deliberate route and suitable shutoff strategy.
Low flow at the new faucet should not be blamed on the fixture until the aerator, supply valves, connectors, pressure, and existing piping are checked. A sudden pressure drop can originate at a local restriction or elsewhere in the supply system.
Homeowners can test water pressure with a suitable gauge, but the reading must be interpreted alongside the symptoms and operating conditions. One static number does not identify a restricted pipe or a regulator that fails intermittently.
Homes with unstable or excessive water pressure may need the main system evaluated before premium fixtures are installed. Those conditions can wear cartridges, connectors, appliance valves, and the new faucet.
Testing and setting the system through water pressure and regulator service addresses a condition the cosmetic remodel itself cannot fix.
Existing pipe condition belongs in the remodel budget
Opening a sink wall may reveal corroded galvanized pipe, poorly supported lines, mixed materials, old shutoffs, or previous repairs that were hidden by cabinetry. Covering them again without evaluation can place the next leak behind a brand-new kitchen.
One questionable fitting does not automatically mean the whole home needs new piping. The decision depends on the material, visible condition, leak history, flow, pressure, and how much of the system remains original.
Targeted pipe repair and replacement can address an isolated defect discovered during demolition.
When corrosion and restrictions appear throughout the home, the broader signs that repiping may be due help frame whether a local repair will hold value.
If a larger replacement enters the scope, the choice between PEX and copper affects routing, connections, access, material planning, and the rest of the remodel schedule.
Set aside a contingency for plumbing found after the cabinet and wall finishes come out. If broader work is likely, understanding how long a whole-home repipe can take helps keep cabinets, drywall, countertops, and inspections in the right order.
Choosing faucets, disposals, and water accessories together
The sink may be the visual anchor, but its accessories determine how the station works. Faucet reach, spray pattern, handle clearance, disposal size, filtration equipment, and dishwasher routing can compete for the same limited cabinet and countertop space.
Choose the assembly as a system. A drawing that shows only the sink cutout will not reveal a faucet handle striking the backsplash or a filter housing that cannot be removed for cartridge changes.
Faucet reach and hole layout matter more than height alone
The faucet spout should deliver water into the usable center of the bowl without splashing against the drain, divider, or front wall. A very tall faucet paired with a shallow sink can increase splash, while a short-reach faucet may make a wide bowl frustrating to use.
Confirm the number and spacing of holes for the faucet, side spray, soap dispenser, air gap, filtered-water tap, or instant-hot dispenser. Some sinks include a deck, while others rely on holes cut through the countertop, which must avoid mounting rails and cabinet obstructions below.
Flow rate and poor pressure are not the same issue. Proper faucet installation and repair accounts for the fixture's rated performance, supply condition, cartridge, aerator, connections, and available space instead of removing a compliant flow control to chase a different problem.
When efficiency is part of the remodel goal, coordinated low-flow fixture installation can align the kitchen faucet with other planned water-saving upgrades without sacrificing the flow needed for routine kitchen work.
Potable-water components need verified compatibility
Faucets, supply lines, valves, fittings, solder, and flux that contact drinking water must be intended and certified for potable use. Marketplace listings or visual similarity are not enough to establish material compliance.
Under the Safe Drinking Water Act, EPA defines lead-free plumbing as no more than a weighted average of 0.25 percent lead across wetted surfaces, with a 0.2 percent limit for solder and flux. Certification marks and manufacturer documentation help confirm that a fixture or fitting meets the applicable requirement.
Finish compatibility matters too. Avoid creating an unplanned combination of metals and connection types behind the cabinet, and use the fittings and joining methods approved for the specific pipe and fixture.
If taste, odor, hardness, or a specific contaminant is part of the remodel goal, select water treatment and filtration based on the water concern rather than cabinet space alone. The system needs suitable capacity, a dedicated faucet when required, shutoff access, drainage where applicable, and room for maintenance.
The disposal, dishwasher, and storage compete for one cabinet
A garbage disposal adds height and width directly below the sink outlet. A larger model can collide with the trap, filter housings, pullout bins, or cabinet drawers, particularly beneath a deep single-bowl sink. The expected service life of a disposal can help determine whether the existing unit deserves space in the new layout.
The dishwasher discharge also needs a planned connection and routing method. Its hose, the disposal inlet or drain tailpiece, and any locally required air-gap arrangement should be coordinated before the countertop holes and cabinet penetrations are finalized.
Use a full-size layout to assign the cabinet space:
- Disposal body and removal clearance
- Trap, drain arm, and accessible cleanout path
- Dishwasher hose and connection point
- Water-filter housings and cartridge-drop clearance
- Pullout storage, bins, and cleaning supplies
This layout reduces the chance that an installer must reroute plumbing around an accessory purchased later. It also keeps leak-prone connections visible instead of burying them behind tightly packed storage.
If the existing unit is noisy, leaking, or unreliable, decide between garbage disposal repair and replacement before specifying the new drain arrangement.
Budgeting for disposal installation at the design stage also avoids treating the electrical and drain changes as last-minute extras.
A correctly sized garbage disposal installation can then be integrated with the bowl depth, branch drain, electrical provision, and dishwasher.
Sequencing installation and testing before the remodel ends
Kitchen remodels involve handoffs. The plumber may prepare the rough-in, the cabinet installer establishes the base, the fabricator cuts the countertop, and the plumber returns after the sink and faucet can be connected. Each trade needs accurate product information and a clear stopping point.
Build inspection and testing into the schedule rather than treating the first use as the test. Small alignment or sealing errors are easier to correct before the cabinet is filled and the final punch list is closed.
Final product choices must be locked before fabrication
The fabricator needs the actual sink or the manufacturer-approved template, along with the selected reveal and mounting method. Faucet and accessory locations should be confirmed against the backsplash, window trim, cabinet frame, disposal, and any under-counter equipment.
Last-minute substitutions create risk even when the replacement has the same advertised width. Corner shape, flange width, bowl placement, clip location, hole requirements, and drain position may differ enough to invalidate the cutout or rough-in.
Before the countertop is cut, inspect the exact sink for damage and match its model number to the current template. Confirm the mounting hardware and support requirements rather than assuming they are included or interchangeable.
Mark faucet and accessory holes from below as well as above, then recheck disposal, trap, filter, and cabinet clearances. This final dimensional review should happen while the design can still be adjusted without recutting finished material.
Keep the sink protected during construction, especially at exposed edges and corners. Heavy fixtures should not be used as a work surface, and undermount adhesives or supports need the required cure and loading conditions before plumbing is attached.
When the selected sink cannot fit the existing cabinet or drain height, revise the plan before cutting. A controlled design change is far less costly than attempting to force the wrong bowl into finished stone.
Every connection needs testing under real use
After connection, dry paper or a clean cloth beneath each joint makes small leaks easier to spot. Test the faucet at different flows, fill and drain each bowl, operate the spray head, run the disposal, and cycle the dishwasher connection when possible.
Do not limit the test to a few seconds of running water. A drain connection may leak only when a full sink empties, and a faucet base may show moisture only after the spray hose moves through its range.
Check the completed station in a deliberate order:
- Hot and cold shutoff valves, connectors, and faucet inlets
- Faucet base, handle, spout, spray hose, and accessory holes
- Sink rim or undermount seam and overflow, if present
- Strainer, disposal flange, discharge tube, trap, and wall connection
- Dishwasher supply and discharge during a cycle
Open the cabinet again after the first several uses. A slow seep can leave mineral residue, swollen cabinet material, or a damp odor before it forms an obvious puddle.
Moisture near the appliance flange, discharge tube, dishwasher inlet, or housing follows different patterns. The location of a disposal leak under the sink helps identify which connection or component needs attention.
If moisture appears with all fixtures off, or the source is concealed behind the wall or floor, leak detection can narrow the location without assuming the newest visible joint is responsible. Remodel timing and leak timing can coincide without proving the same cause.
A complete handoff protects the finished kitchen
At the end of the project, you should know where every sink-related shutoff is, which circuits serve the disposal and dishwasher, what maintenance the sink finish requires, and how to access the trap and filter cartridges.
Keep model numbers, warranties, finish-care instructions, filter schedules, and photos of the open-wall rough-in. Those records make future service more accurate and help prevent incompatible replacement parts.
During the final walkthrough, confirm how to shut off the faucet, dishwasher, filter, and instant-hot unit. Review which products are safe for the sink finish, which foods should stay out of the disposal, and how often cartridges or other consumables need service.
The walkthrough should also identify what movement, odor, noise, or moisture warrants a callback and which permits or inspection records belong with the home file. These details turn a completed installation into a maintainable one.
The handoff should also distinguish an ordinary maintenance item from a symptom of poor drainage or a loose connection. That keeps a small adjustment from turning into repeated cabinet damage.
If a slow kitchen drain develops later, avoid treating the disposal as a drain-cleaning tool. Understanding why drains keep clogging protects the new sink assembly from chemical shortcuts and repeated force that never addresses the branch line.
Conclusion
A successful kitchen sink installation begins with coordinated dimensions. The sink, cabinet, counter, faucet, drain, disposal, dishwasher, filtration, and storage all need to fit in the same physical space and work as one plumbing station.
Lock in the fixture before fabrication, verify the rough-in against real product dimensions, and leave access for shutoffs and maintenance. Testing every connection under realistic use protects the cabinet and finished surfaces before the remodel is considered complete.
The best time to solve a drain-height conflict, worn valve, or aging pipe is while the kitchen is already open. Clear planning now reduces substitutions, delays, and invasive repairs after the new finishes are installed.
For help coordinating your kitchen sink plumbing from rough-in through final testing, contact Drain Doctors Plumbing to schedule service in San Luis Obispo County.
Tell us what's going on and our licensed team will point you in the right direction. Call (805) 467-1214 or request service online.